High tunnels and greenhouses
It's been a few years, but back then, I couldn't wait for spring and gardening. About the middle of April, I'd be watching the weather, with the 10-day forecast being my primary focus. I couldn't wait to get those tomatoes in the ground. For several years, I'd cheat Mother Nature by using Wall O' Waters, or the generic version of them. ...
By Rennie Phillips
It's been a few years, but back then, I couldn't wait for spring and gardening. About the middle of April, I'd be watching the weather, with the 10-day forecast being my primary focus. I couldn't wait to get those tomatoes in the ground.
For several years, I'd cheat Mother Nature by using Wall O' Waters, or the generic version of them. They are a virtual wall of water around your tomato plant. They are about 12 inches across and 18 inches tall, or about the size of a 5-gallon bucket. The easiest way to check them out is to Google them or look them up on YouTube. Back when I was using the Wall O' Waters, I had some red tomatoes somewhere around the end of May. At that time, the only tomatoes I grew in the Wall O' Waters was Stupice.
About five years ago, I found out that the Natural Resources Conservation Service was helping willing participants build high tunnels. So I talked to the guys down at Benton, Missouri, and applied. The first year was a bust and I didn't qualify. The second year, with the help of David Spiedel, I qualified for help on a cost share basis. So I began to research high tunnels and their construction.
I bought mine from a metal shop out in Versailles, Missouri, owned by Zimmerman's Welding. I figured if I went to the builder I could get a good product at a fair price. I talked to one of the guys out there and pretty much told them what I wanted. I wanted two 24x48-foot greenhouses. I wanted the sidewalls 5 feet tall. Many are 8 feet tall. I wanted the hoops no more than 6 feet apart, and I wanted W trusses. A lot of hoop houses don't come with trusses, but I wanted my high tunnels to be tough.
It didn't take but a few days and I got a complete list of the parts and the total cost of two high tunnels. The owner had figured the cost down to the screws and such. I didn't want end kits, so my cost was just for the hoop house minus the ends. I figured that since I've carpentered since I could walk, we could build the ends out of treated wood and figure out how to cover them and kind of work it out as we went. The NRCS paid for about one-third of the total cost when I figured in the materials for the ends and other materials.
The delivery cost was significant, so I contacted Jerry Menees to go get them for us. He drove out to Versailles and back in one day. It was exciting to see the pile of metal, but scary as well. Now for the construction.
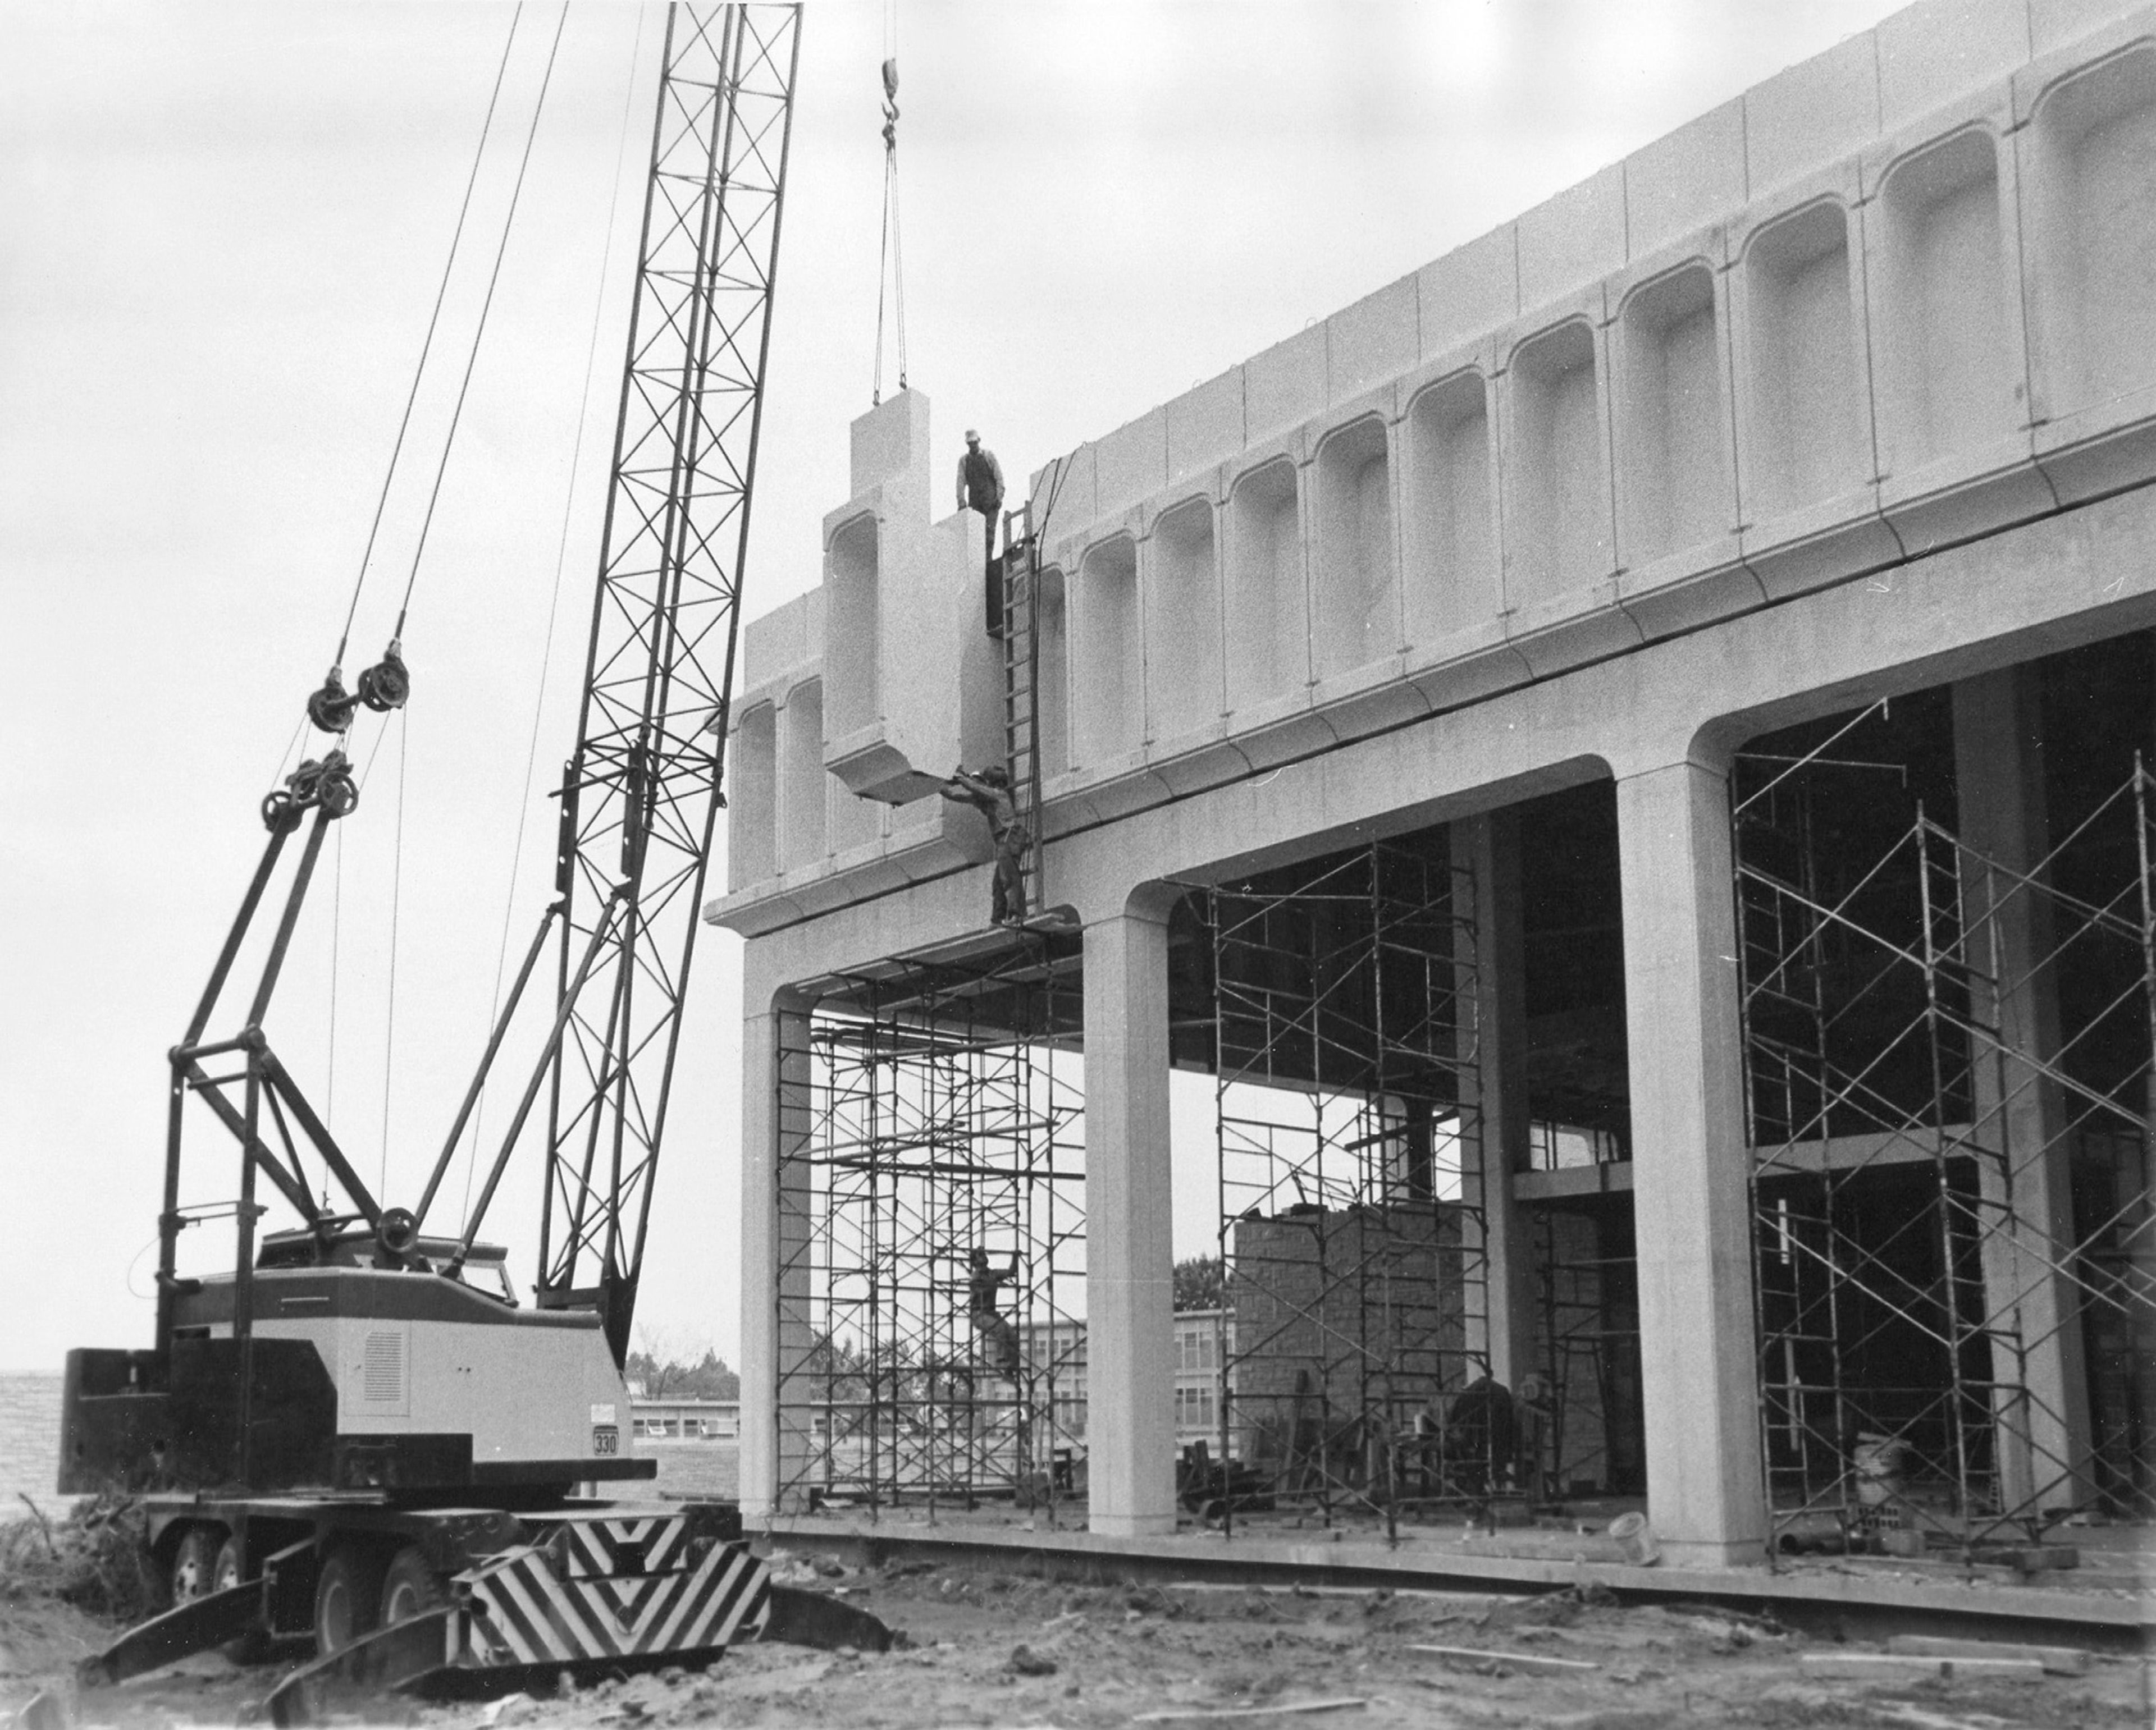
There were nine metal posts down each side, with them being about 2.5-inch metal posts. The directions said we could drive the metal posts into the ground and it would probably be sufficient. That didn't sound very substantial to me, so Marge and I put all the metal posts in cement. These posts were there to stay. They stood about 4.5 feet tall or so. The hardest part was squaring the sides and the ends and keeping the posts plumb.
We assembled the hoops on the ground and then kind of raised them into place with an old TO20 tractor with a loader. It was a little difficult because the hydraulics on the loader leaked and the bucket would slowly go down. I'd lift the hoop and get it in place. These hoops slid down inside the posts we had cemented in the ground. As the last hoop slid in place, Marge and I let out a sigh of relief.
It took a while, but eventually we got the ends built. We used 4x4s and cemented them to add stability to the ends. All of the boards in both high tunnels are made out of treated lumber. Once the ends were built, we then put plastic over the tunnel. We waited for a good calm day and it ended up being extremely easy. After the top was in place, we covered the ends with plastic as well. It is a 6-millimeter plastic that has a life expectancy of at least four years. Mine is going into its fifth year.
It has been a joy learning how to grow in the tunnels. What I like the best is not being hampered by the weather. I can work in the tunnels when it's pouring down rain. It's an almost ideal growing environment. But it has its problems. Insects seem to thrive in the tunnels. Since then I have built one more, but it is more specifically a greenhouse. I built it just this summer. It is a 12x20-foot greenhouse I built specifically to start and grow transplants in. I built it totally out of locally obtained materials, which I bought from Buchheit's at Jackson and Kelso Supply in Kelso, Missouri. I bought the tubing bender from Colorado Iron Works. The total cost of this greenhouse is around $900, or about $3.75 per square foot. The cost of our big greenhouses was about $3.75 per square foot as well.
The neat thing about the small 12x20 greenhouse is that in less than two weeks, you can have a fully functional greenhouse ready to use. It has been fun moving my transplants from my shop to the greenhouse where they get direct sunlight. If you have questions, drop me an email.
Until next time.
Connect with the Southeast Missourian Newsroom:
For corrections to this story or other insights for the editor, click here. To submit a letter to the editor, click here. To learn about the Southeast Missourian’s AI Policy, click here.


