Creating creative holiday place cards
This one is for Anders. And for Sarah and Nathan. And Jen and Blair. And Patrick and Winn. And all the folks who join our Monday night family dinners. Because this Monday night, we're celebrating Thanksgiving. For the past few months we've all been gathering at Sarah and Nathan's house on Monday nights to eat a wonderful home-cooked meal and watch Monday Night Football. It's a sort of family made of friendship ties instead of bloodlines...
This one is for Anders. And for Sarah and Nathan. And Jen and Blair. And Patrick and Winn.
And all the folks who join our Monday night family dinners.
Because this Monday night, we're celebrating Thanksgiving.
For the past few months we've all been gathering at Sarah and Nathan's house on Monday nights to eat a wonderful home-cooked meal and watch Monday Night Football. It's a sort of family made of friendship ties instead of bloodlines.
Sarah cooks a huge, themed spread, and we all gorge ourselves on the delicious buffet. But this week we're all pitching in.
Of course, Sarah's still cooking most everything, but Jen's bringing mac and cheese. Patrick's on pie duty. Blair and Winn are providing cider and hors d'oeuvres. Anders is the muffin man.
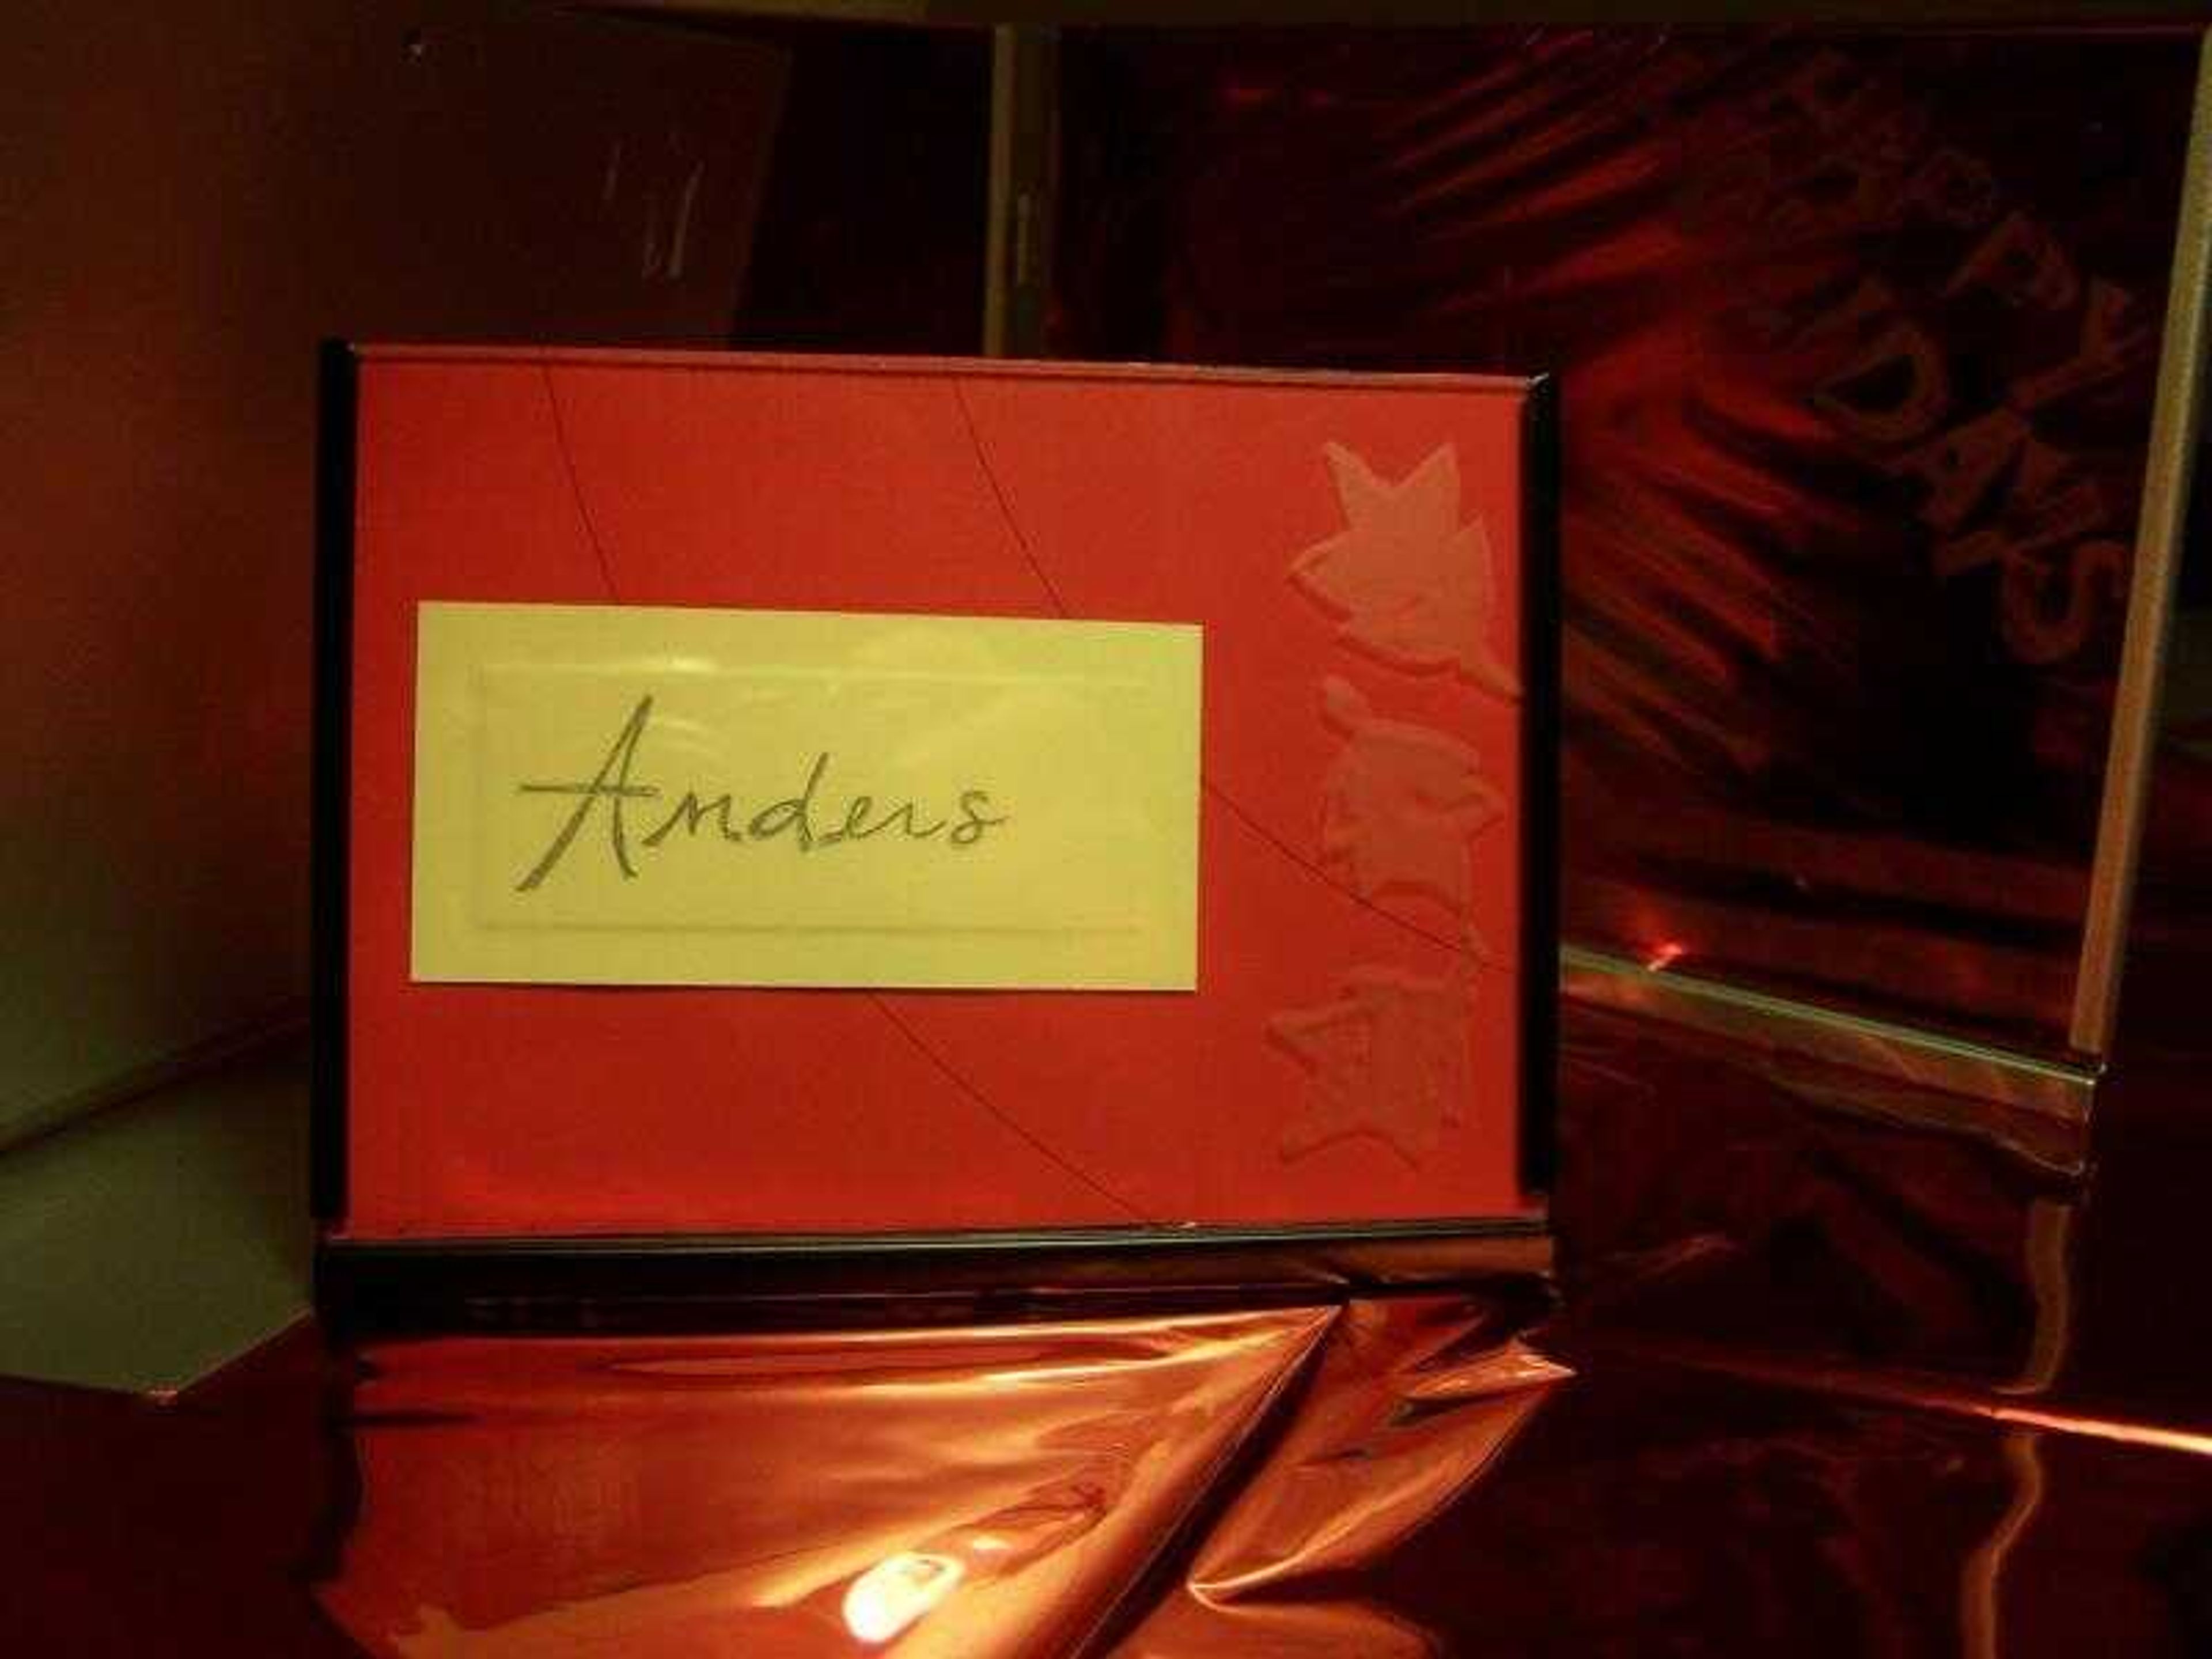
And me? I've got cranberry sauce and table settings. Since cranberry sauce is rarely thrifty (though quite nifty), I thought this week I'd share my idea for place cards and some variations on that theme.
As table-settings go, there are many easy-does-it ideas. Where I like to inject a lot of personality is with the place cards.
Sure, most folks can navigate their own setting arrangements, but place cards help class up a joint.
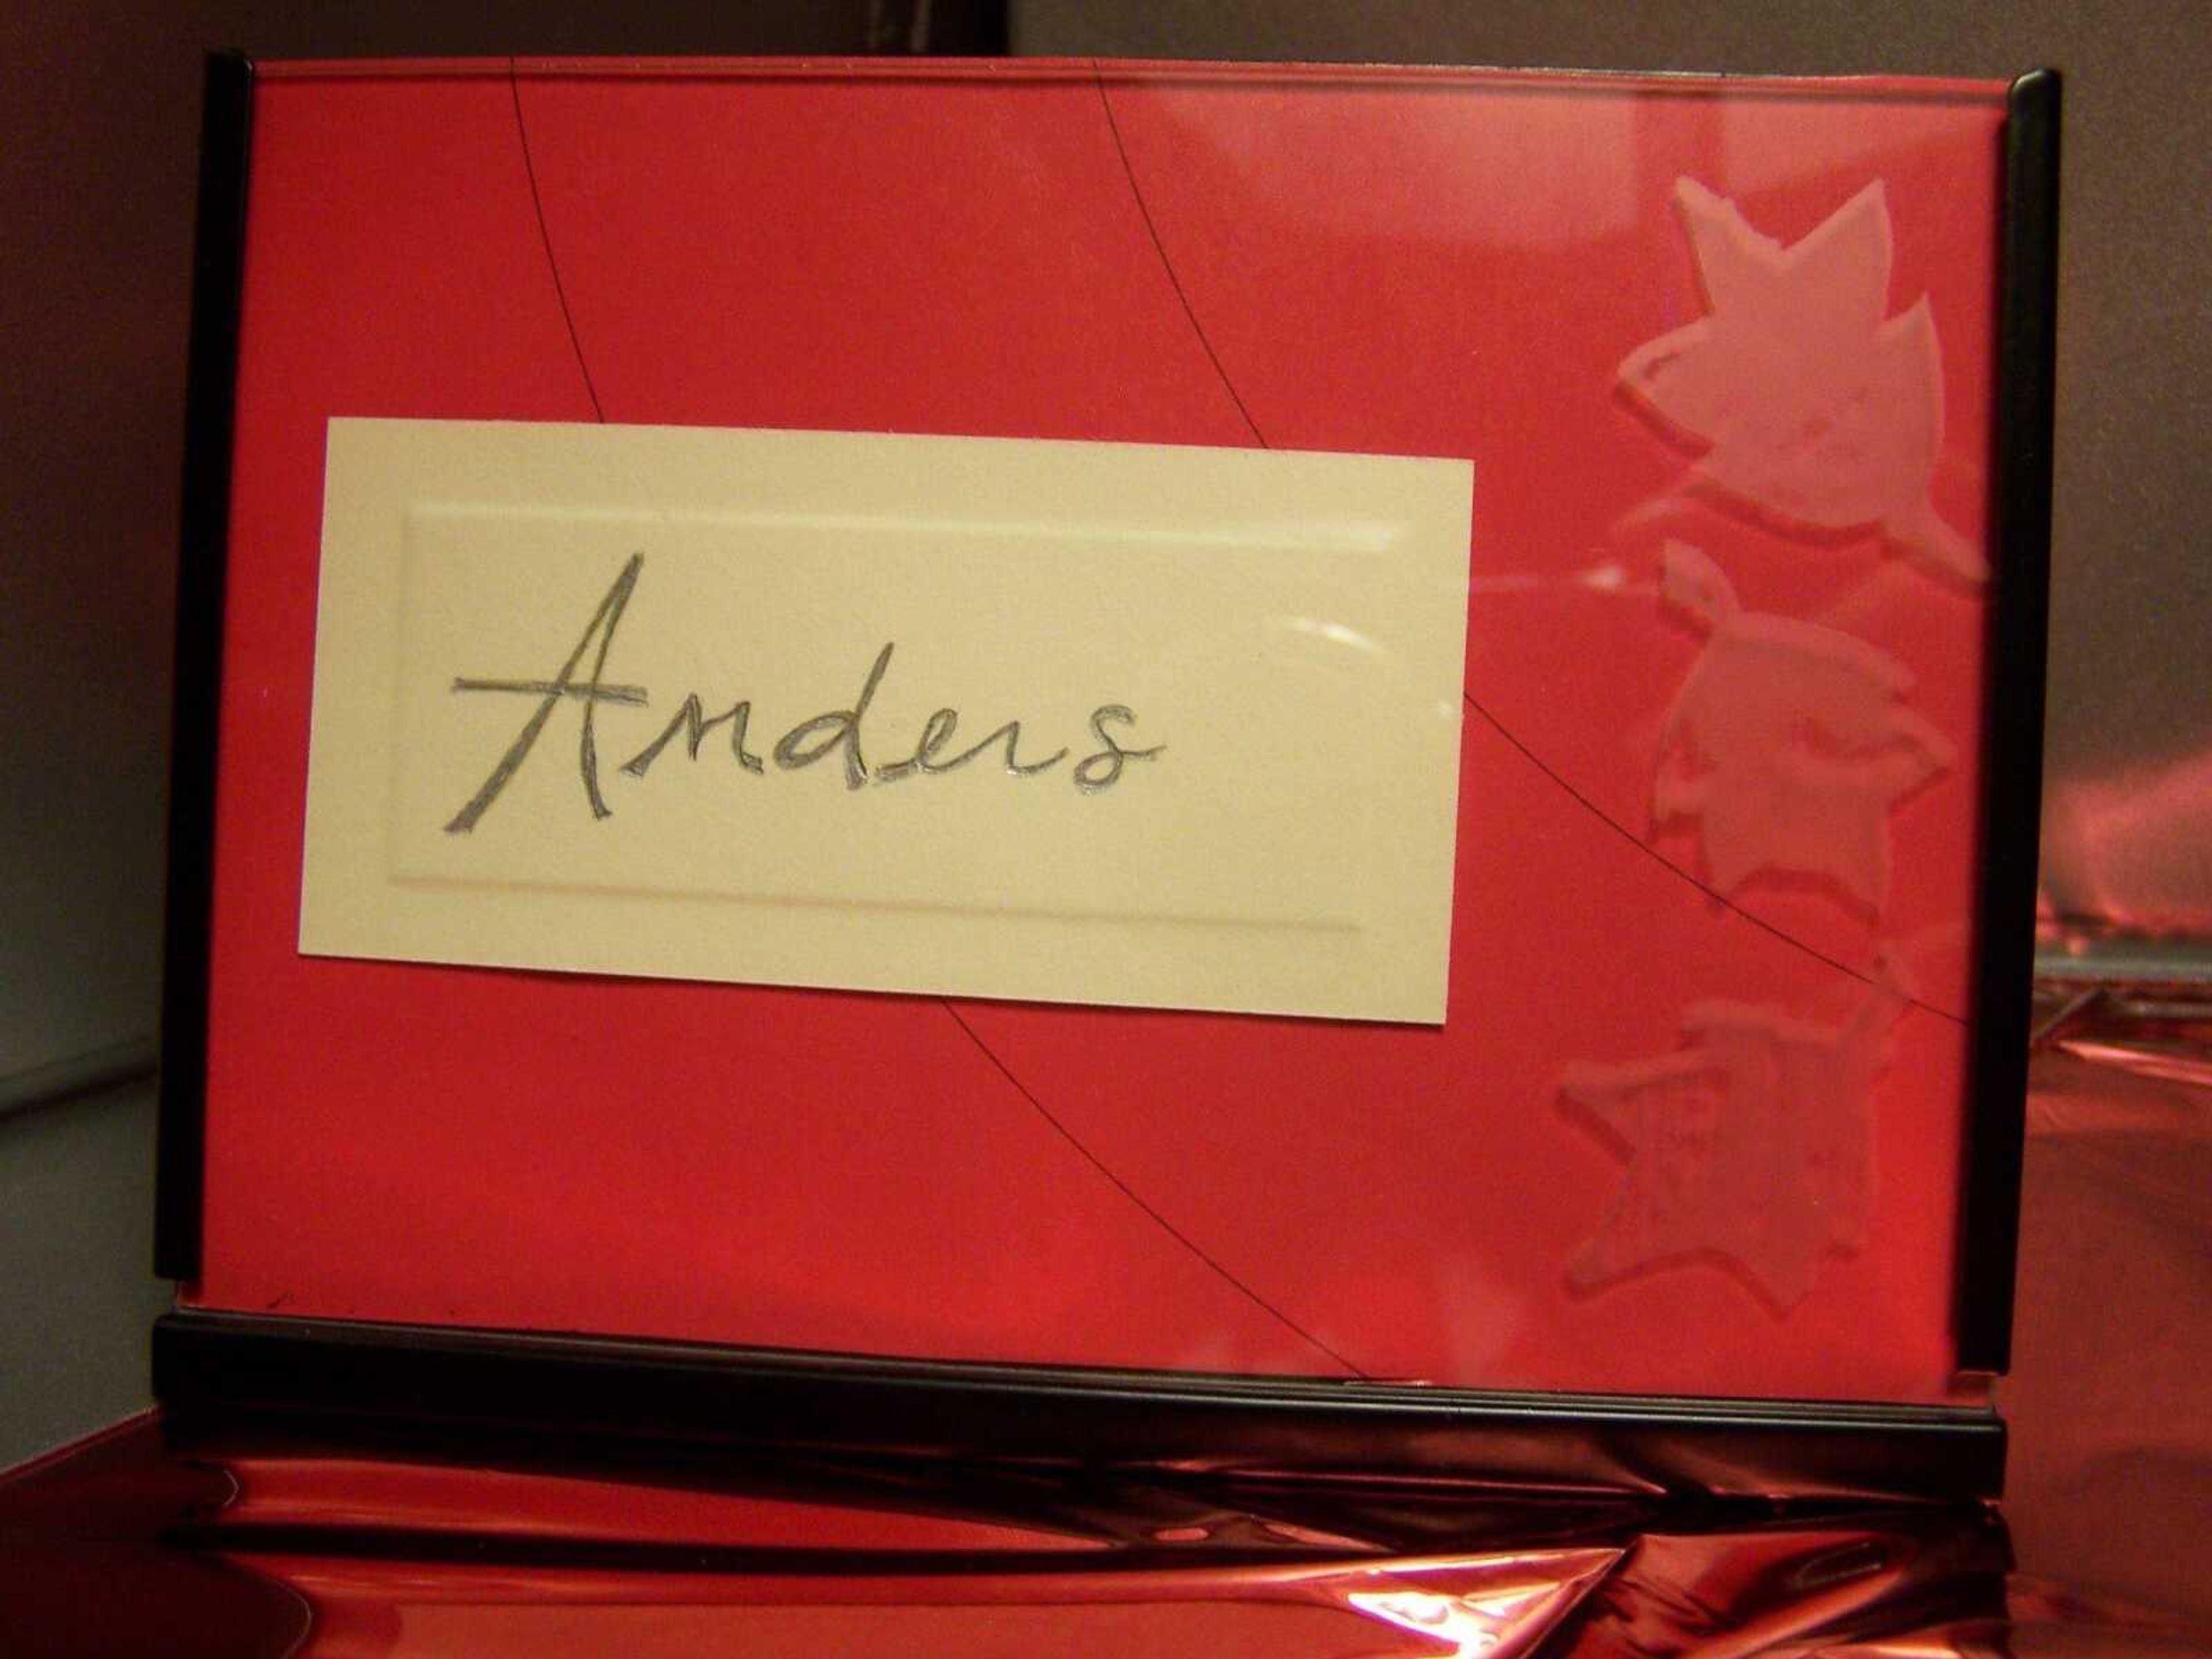
And what better way to welcome in the winter holidays than to evoke gift giving and frosty windows in one shot?
I say there's no better way. That's why my place cards are going to be made of glass-etched picture frames.
To etch glass you can work with various products. My favorite is chemical paste, though sandblasting is also effective. New to the market are paints that give the appearance of etched glass.
With the chemical pastes you need to be careful to cover your hands and protect your eyes. But, unlike sandblasting, pastes are less time-intensive. And as opposed to the paint, your etching is permanent.
I've chosen small frames for my setup. To prepare them for etching you need to remove and clean the glass. When the glass is prepped it's time to choose your design.
For these I'm going with a leaf border, but you could just as easily etch "Happy Holidays" or a simple geometric pattern.
Trace around the glass on clear sticky-back vinyl. Then, trace your design into the outline. If you're etching on a flat surface, go ahead and cut out your shapes before sticking the clear plastic to the glass.
If you're working with a round object it's better to stick all the clear plastic onto the glass and then use a craft knife to cut out the decorations.
When your clear vinyl is on, brush the chemical onto the bare glass, making sure not to let the chemical touch any other part of the glass. Let the etching medium sit for up to 30 minutes.
Then, rinse it off with tap water and peel off the vinyl. Wash the glass thoroughly and admire your work.
For my purposes I'm writing each guest's name on card stock and attaching it to brightly colored paper. Then I'm simply slipping the paper and glass into the frame.
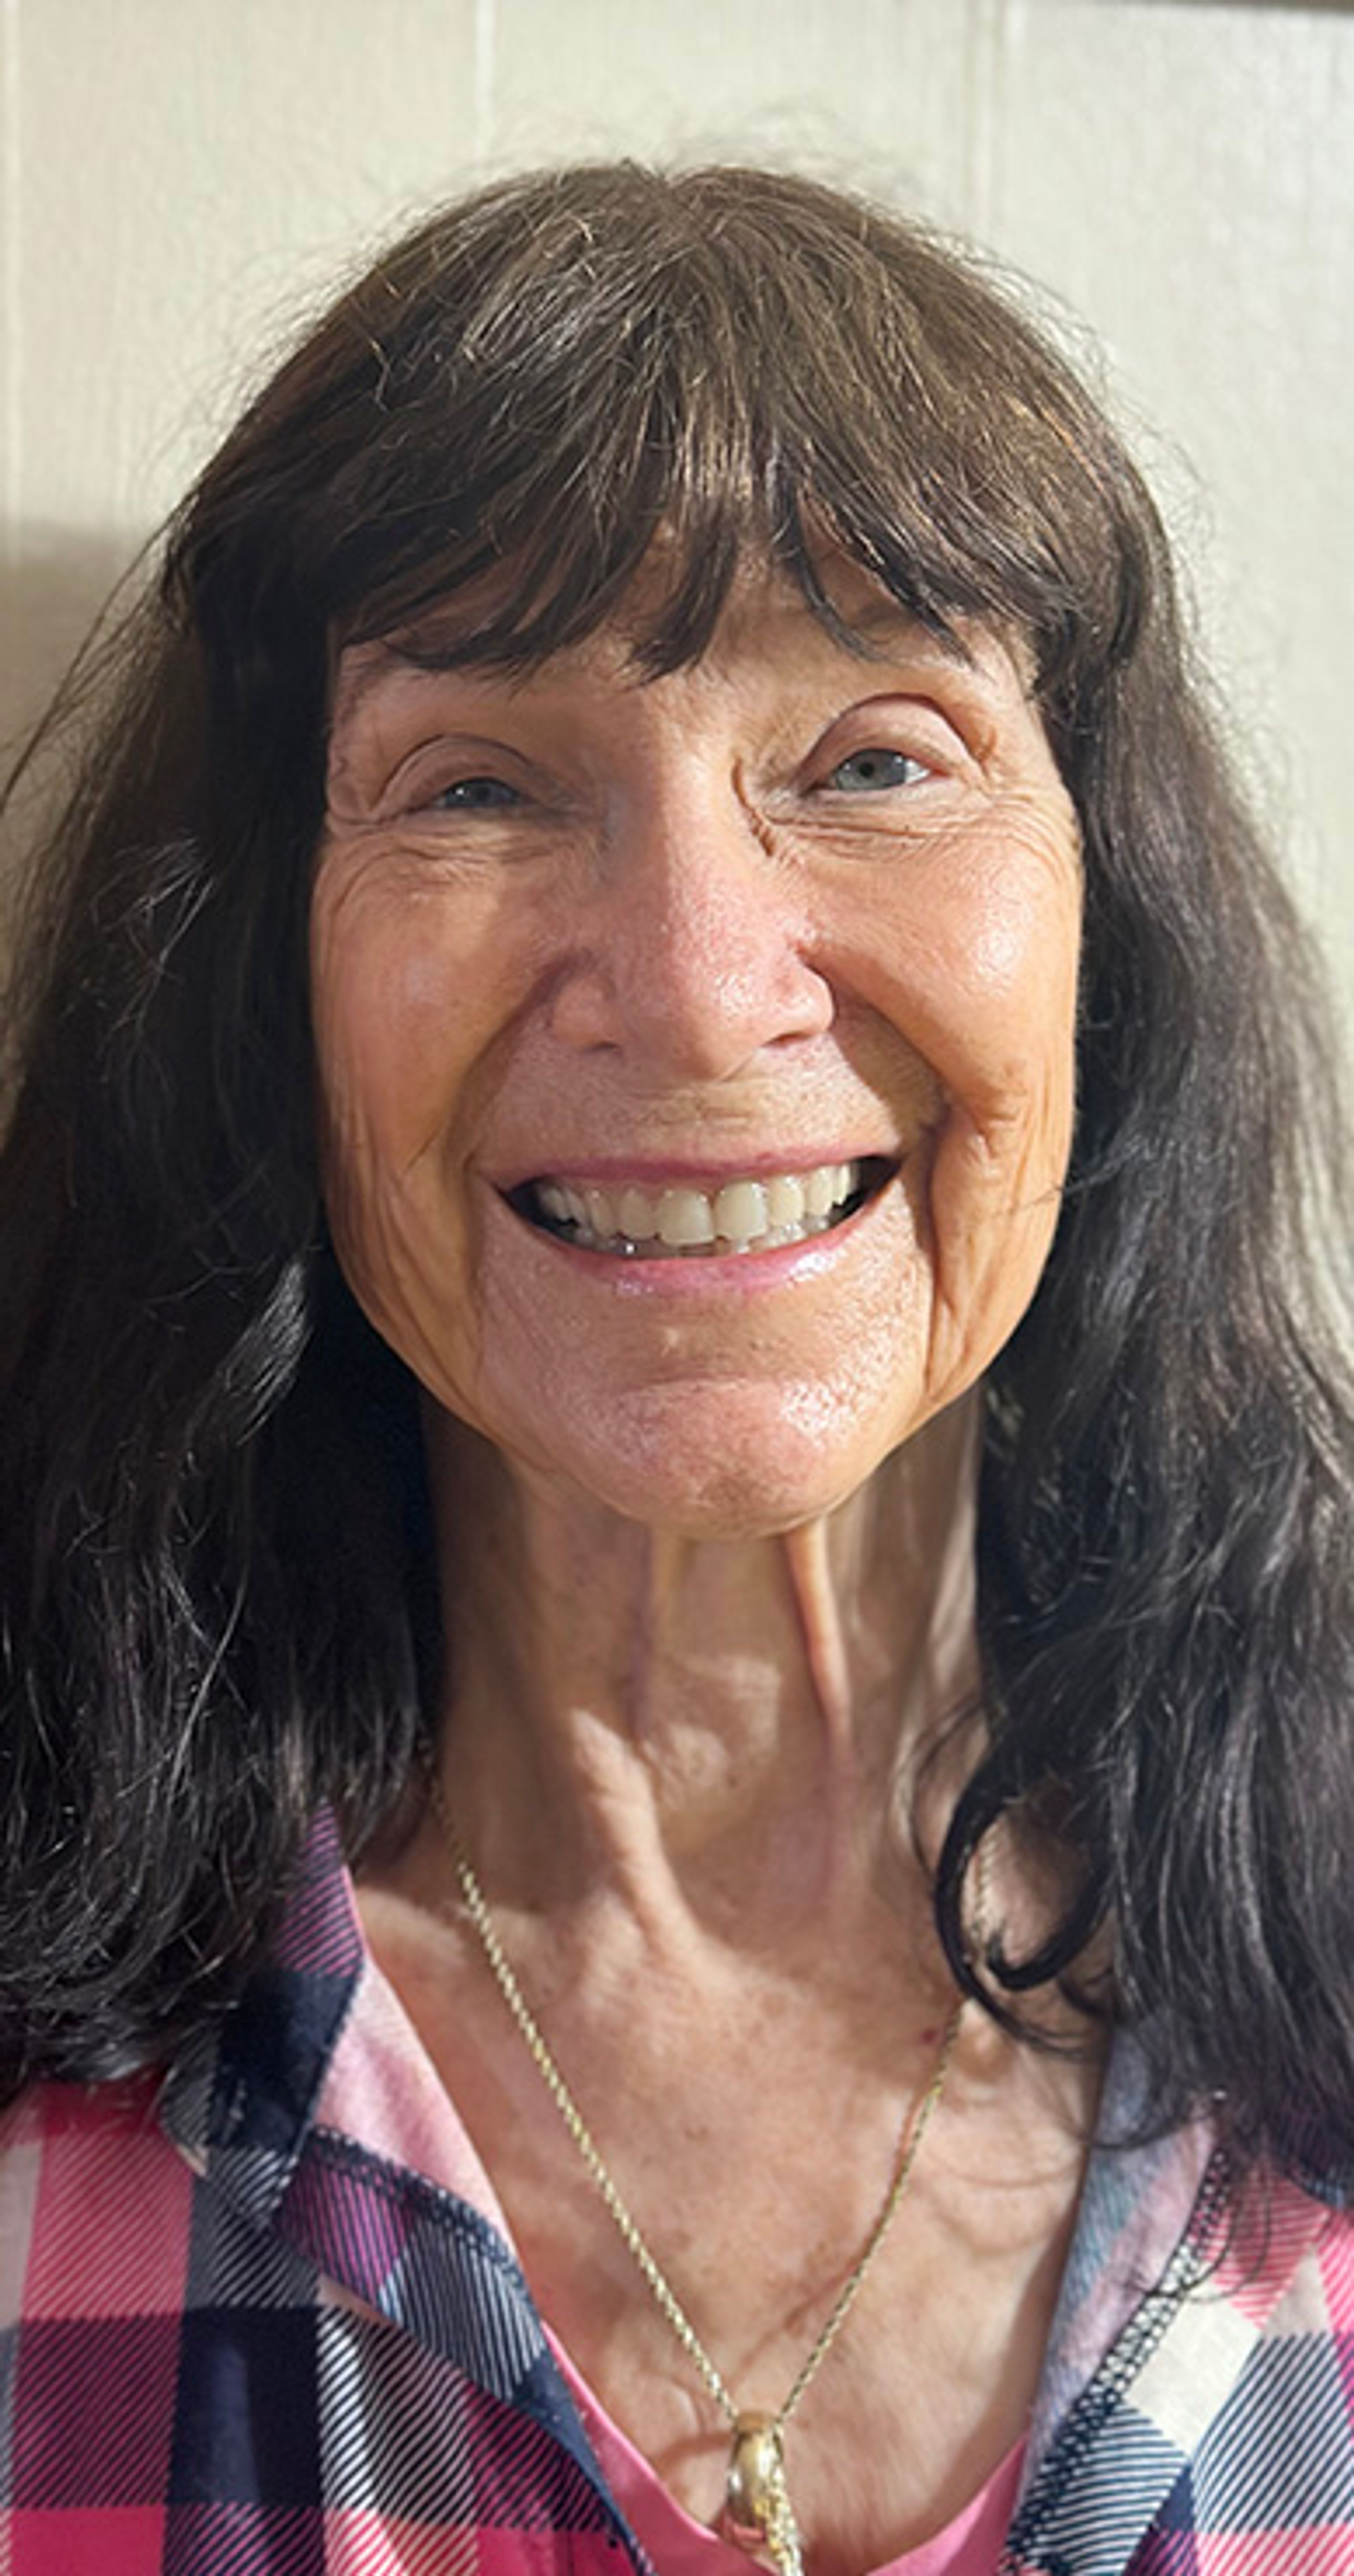
Vanessa Cook is a former copy editor for the Southeast Missourian who dabbles in decorating.
Connect with the Southeast Missourian Newsroom:
For corrections to this story or other insights for the editor, click here. To submit a letter to the editor, click here. To learn about the Southeast Missourian’s AI Policy, click here.


