From savory cheese muffins to maple cookies: fall recipes you need to try
Susan McClanahan's shares top fall recipes, including a tantalizing Cranberry Pear Sugar Cookie Crumble and savory Cheesy Tomatoes and Rice with Chicken.
There seems to be an abundant crop of pears this year. Many of you know I work full-time at the Cape Senior Center, and we have had many clients bring in fresh pears. I have given recipe suggestions to many of our clients, but I came across this recipe that sounds delicious. I really enjoy cranberries; so I was excited to find this recipe to use up some fresh pears while combining them with one of my favorite foods.
Also today, I have pulled together a couple of other recipes that just sound good for fall, and one chicken entrée recipe that had rave reviews online. I hope you enjoy all of these recipes today.
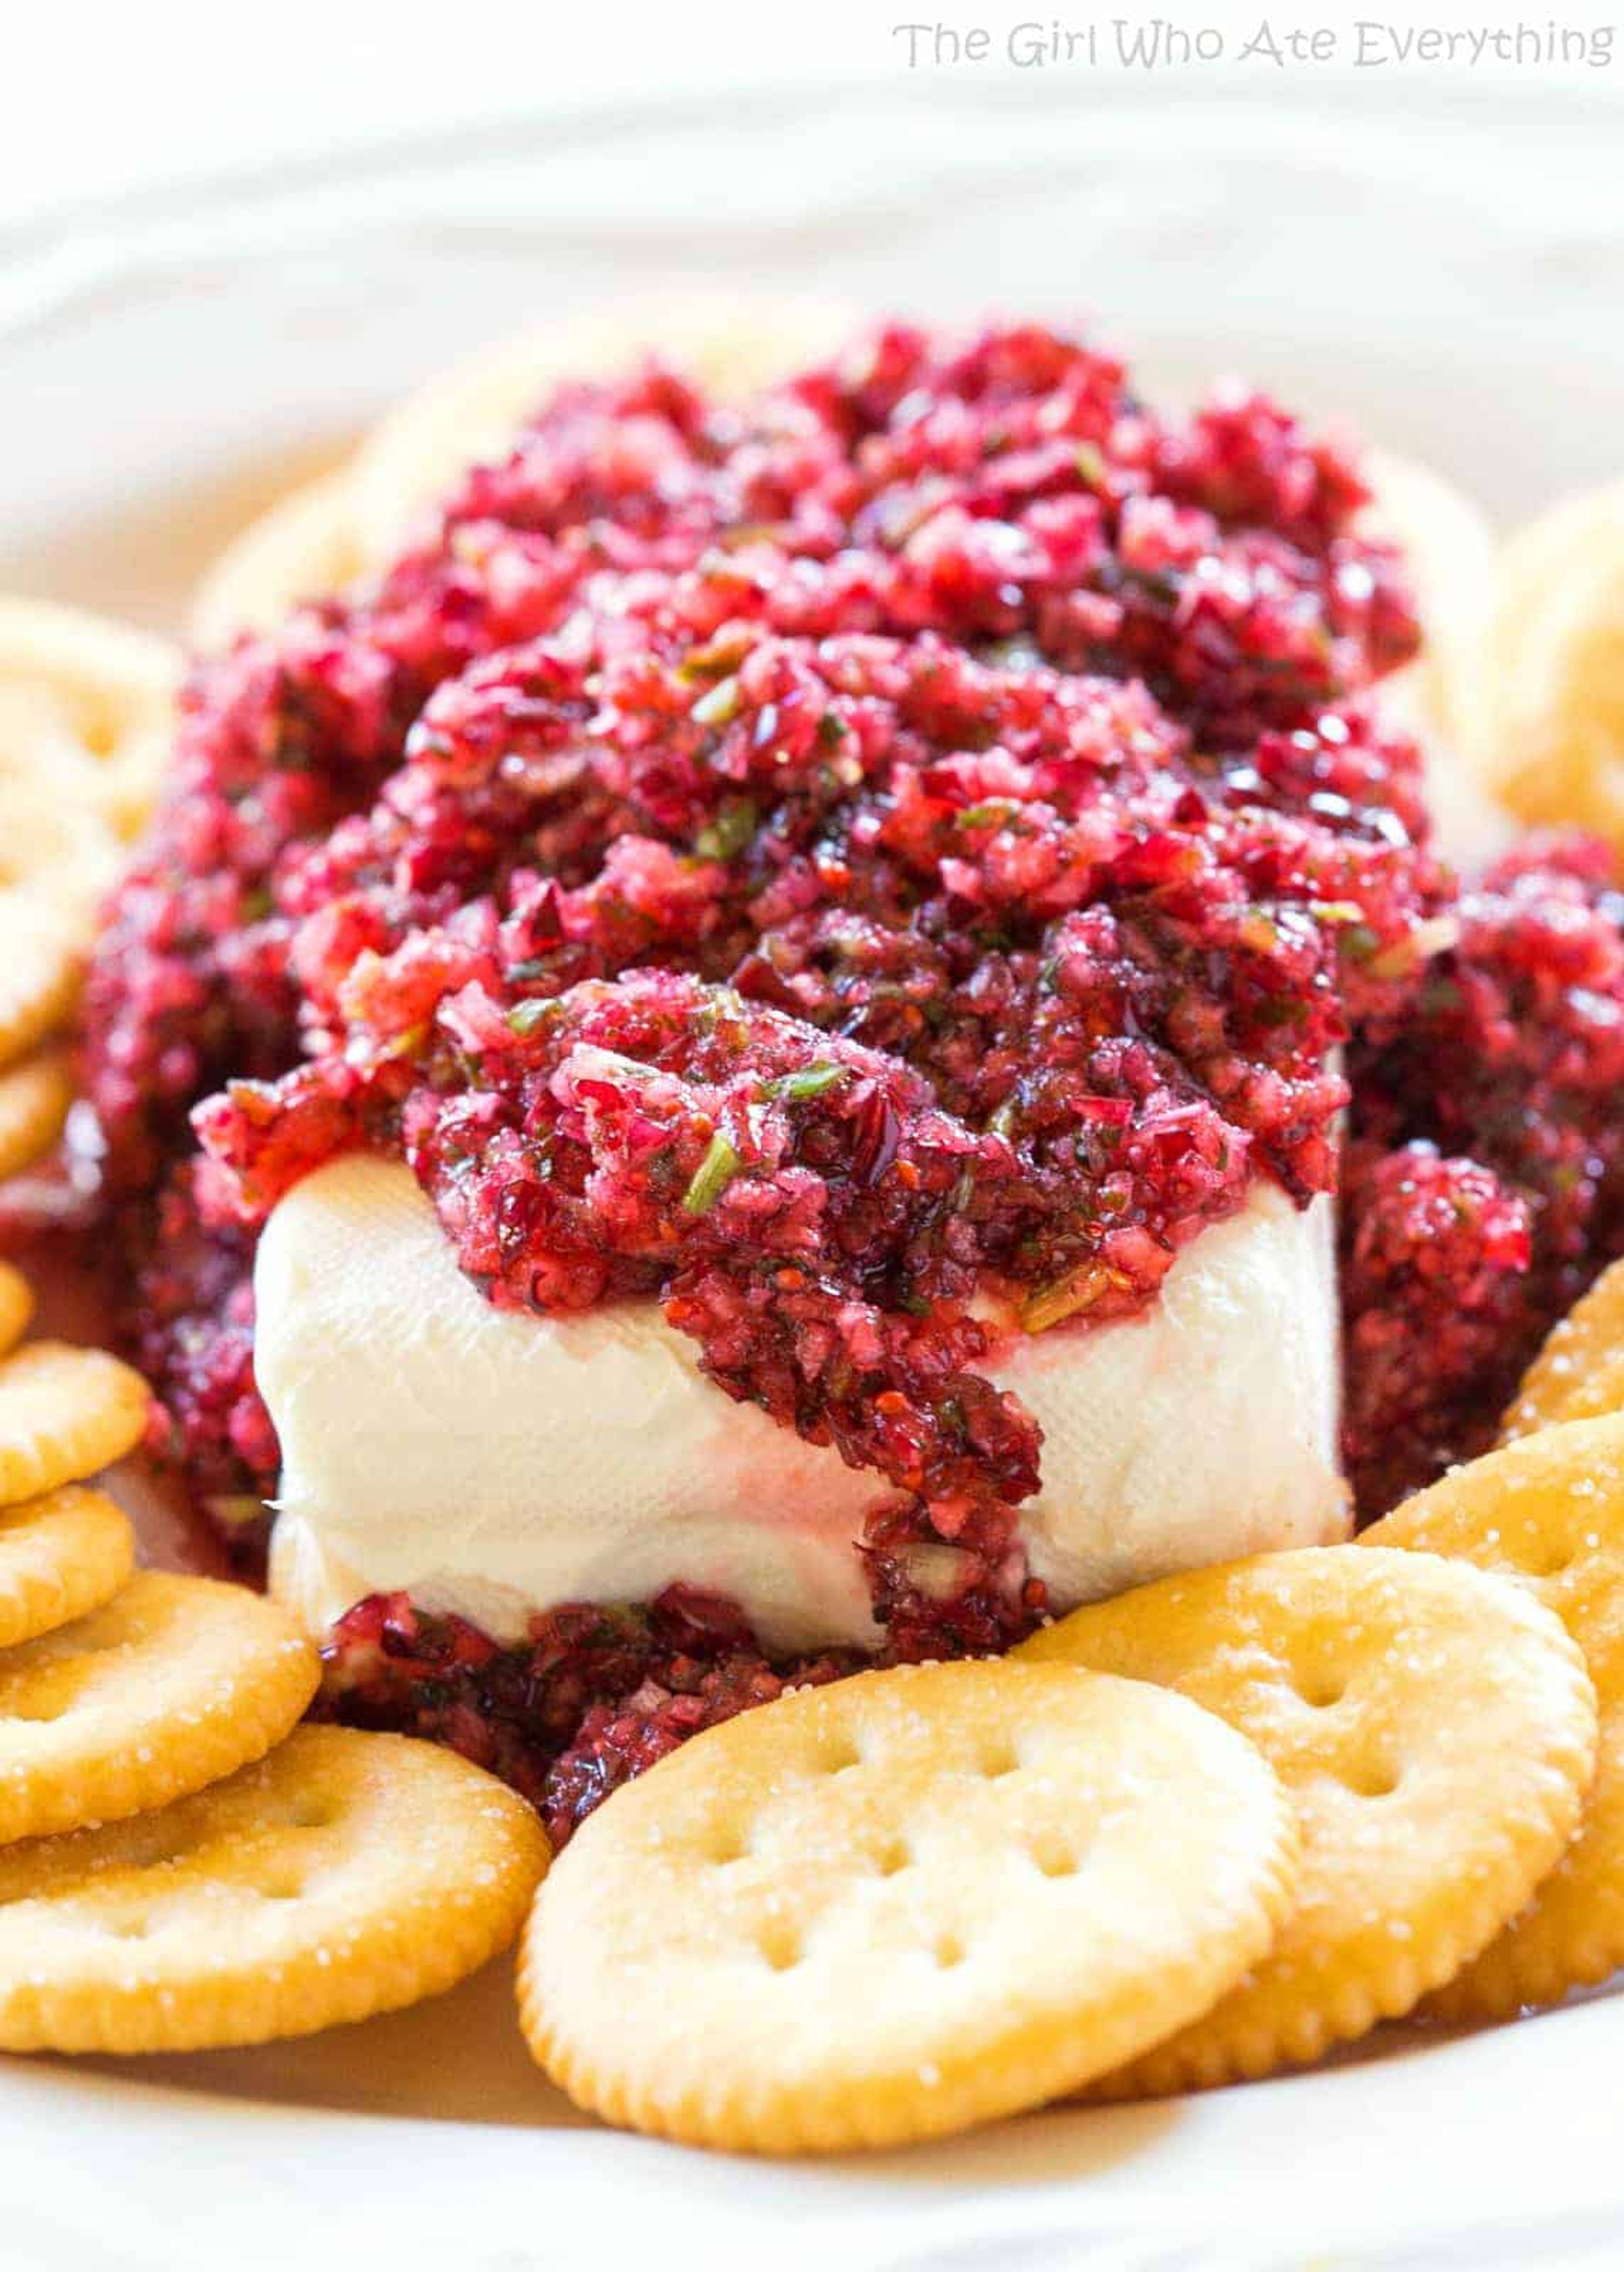
Cranberry Pear Sugar Cookie Crumble
Enjoy a delightful pairing of tart cranberries and juicy pears in our Cranberry Pear Sugar Cookie Crumble. The crumbly sugar cookie topping adds the perfect touch to this comforting dessert. Serve warm with a scoop of ice cream for a delightful treat that's simply irresistible.
• 5 large firm pears peeled, cored, and diced into 1/2-inch cubes (6 cups)
• 2 cups fresh or frozen cranberries
• 1 cup granulated sugar
• 3 tablespoons cornstarch
• 1 tablespoon orange zest
• 1/2 teaspoon ground ginger
• 1/2 teaspoon ground cinnamon
• 1 (17.5 ounce) bag of sugar cookie mix
• 1/2 cup unsalted butter melted (1 stick)
Preheat the oven to 350 degrees. Lightly grease a 9-inch-by-13-inch baking dish and set aside.
Combine the pears, cranberries, sugar, cornstarch, orange zest, ginger, and cinnamon in a large bowl. Mix well until the fruit is evenly coated with the other ingredients. Pour the fruit mixture into the prepared baking dish and spread it into an even layer.
In a medium bowl, combine the sugar cookie mix and melted butter and mix well.
Sprinkle the sugar cookie mix over top of the fruit and bake for 45 to 50 minutes or until the fruit is bubbling and the topping is golden. Allow the crisp to rest for five minutes before serving.
Notes: The crisp is best enjoyed the day it is made; however, leftovers can be stored in an airtight container in the refrigerator for up to three days. Reheat leftovers in the microwave.
Source: www.semihomemadekitchen.com
Savory Cheese Muffins with Apple Butter
• 2 cups all-purpose flour
• 1/2 cup sugar
• 1 tablespoon baking powder
• 1/2 teaspoon baking soda
• 1 teaspoon salt
• 1 1/2 cup shredded smoked Gouda cheese
• 2 large eggs
• 1 cup plain Greek yogurt
• 1/4 cup melted salted butter
Apple butter:
• 1/2 cup very soft salted butter
• 1/3 cup apple jelly
• 1/4 teaspoon cinnamon
Preheat oven to 400 degrees. Spray a 12-cup muffin tin with nonstick spray, set aside. Don’t use liners.
In a large mixing bowl, add the flour, sugar, baking powder, baking soda and salt. Whisk to combine. Add cheese, lightly combine. Make a well in the middle of the bowl and add the eggs and break up with a fork. Add yogurt and melted butter and combine wet ingredients with a whisk in the middle of the bowl. Combine the wet and dry in the bowl just until combined, don’t over mix. Evenly transfer the batter to the prepped tin.
Bake for 18 minutes. Remove and let cool for five minutes.
Make the apple butter: In a small dish, combine the soft butter, apple jelly and Saigon Cinnamon; blend until smooth. Serve with warm muffins. Store leftover apple butter in the refrigerator.
Source www.thefarmstandkitchen.com
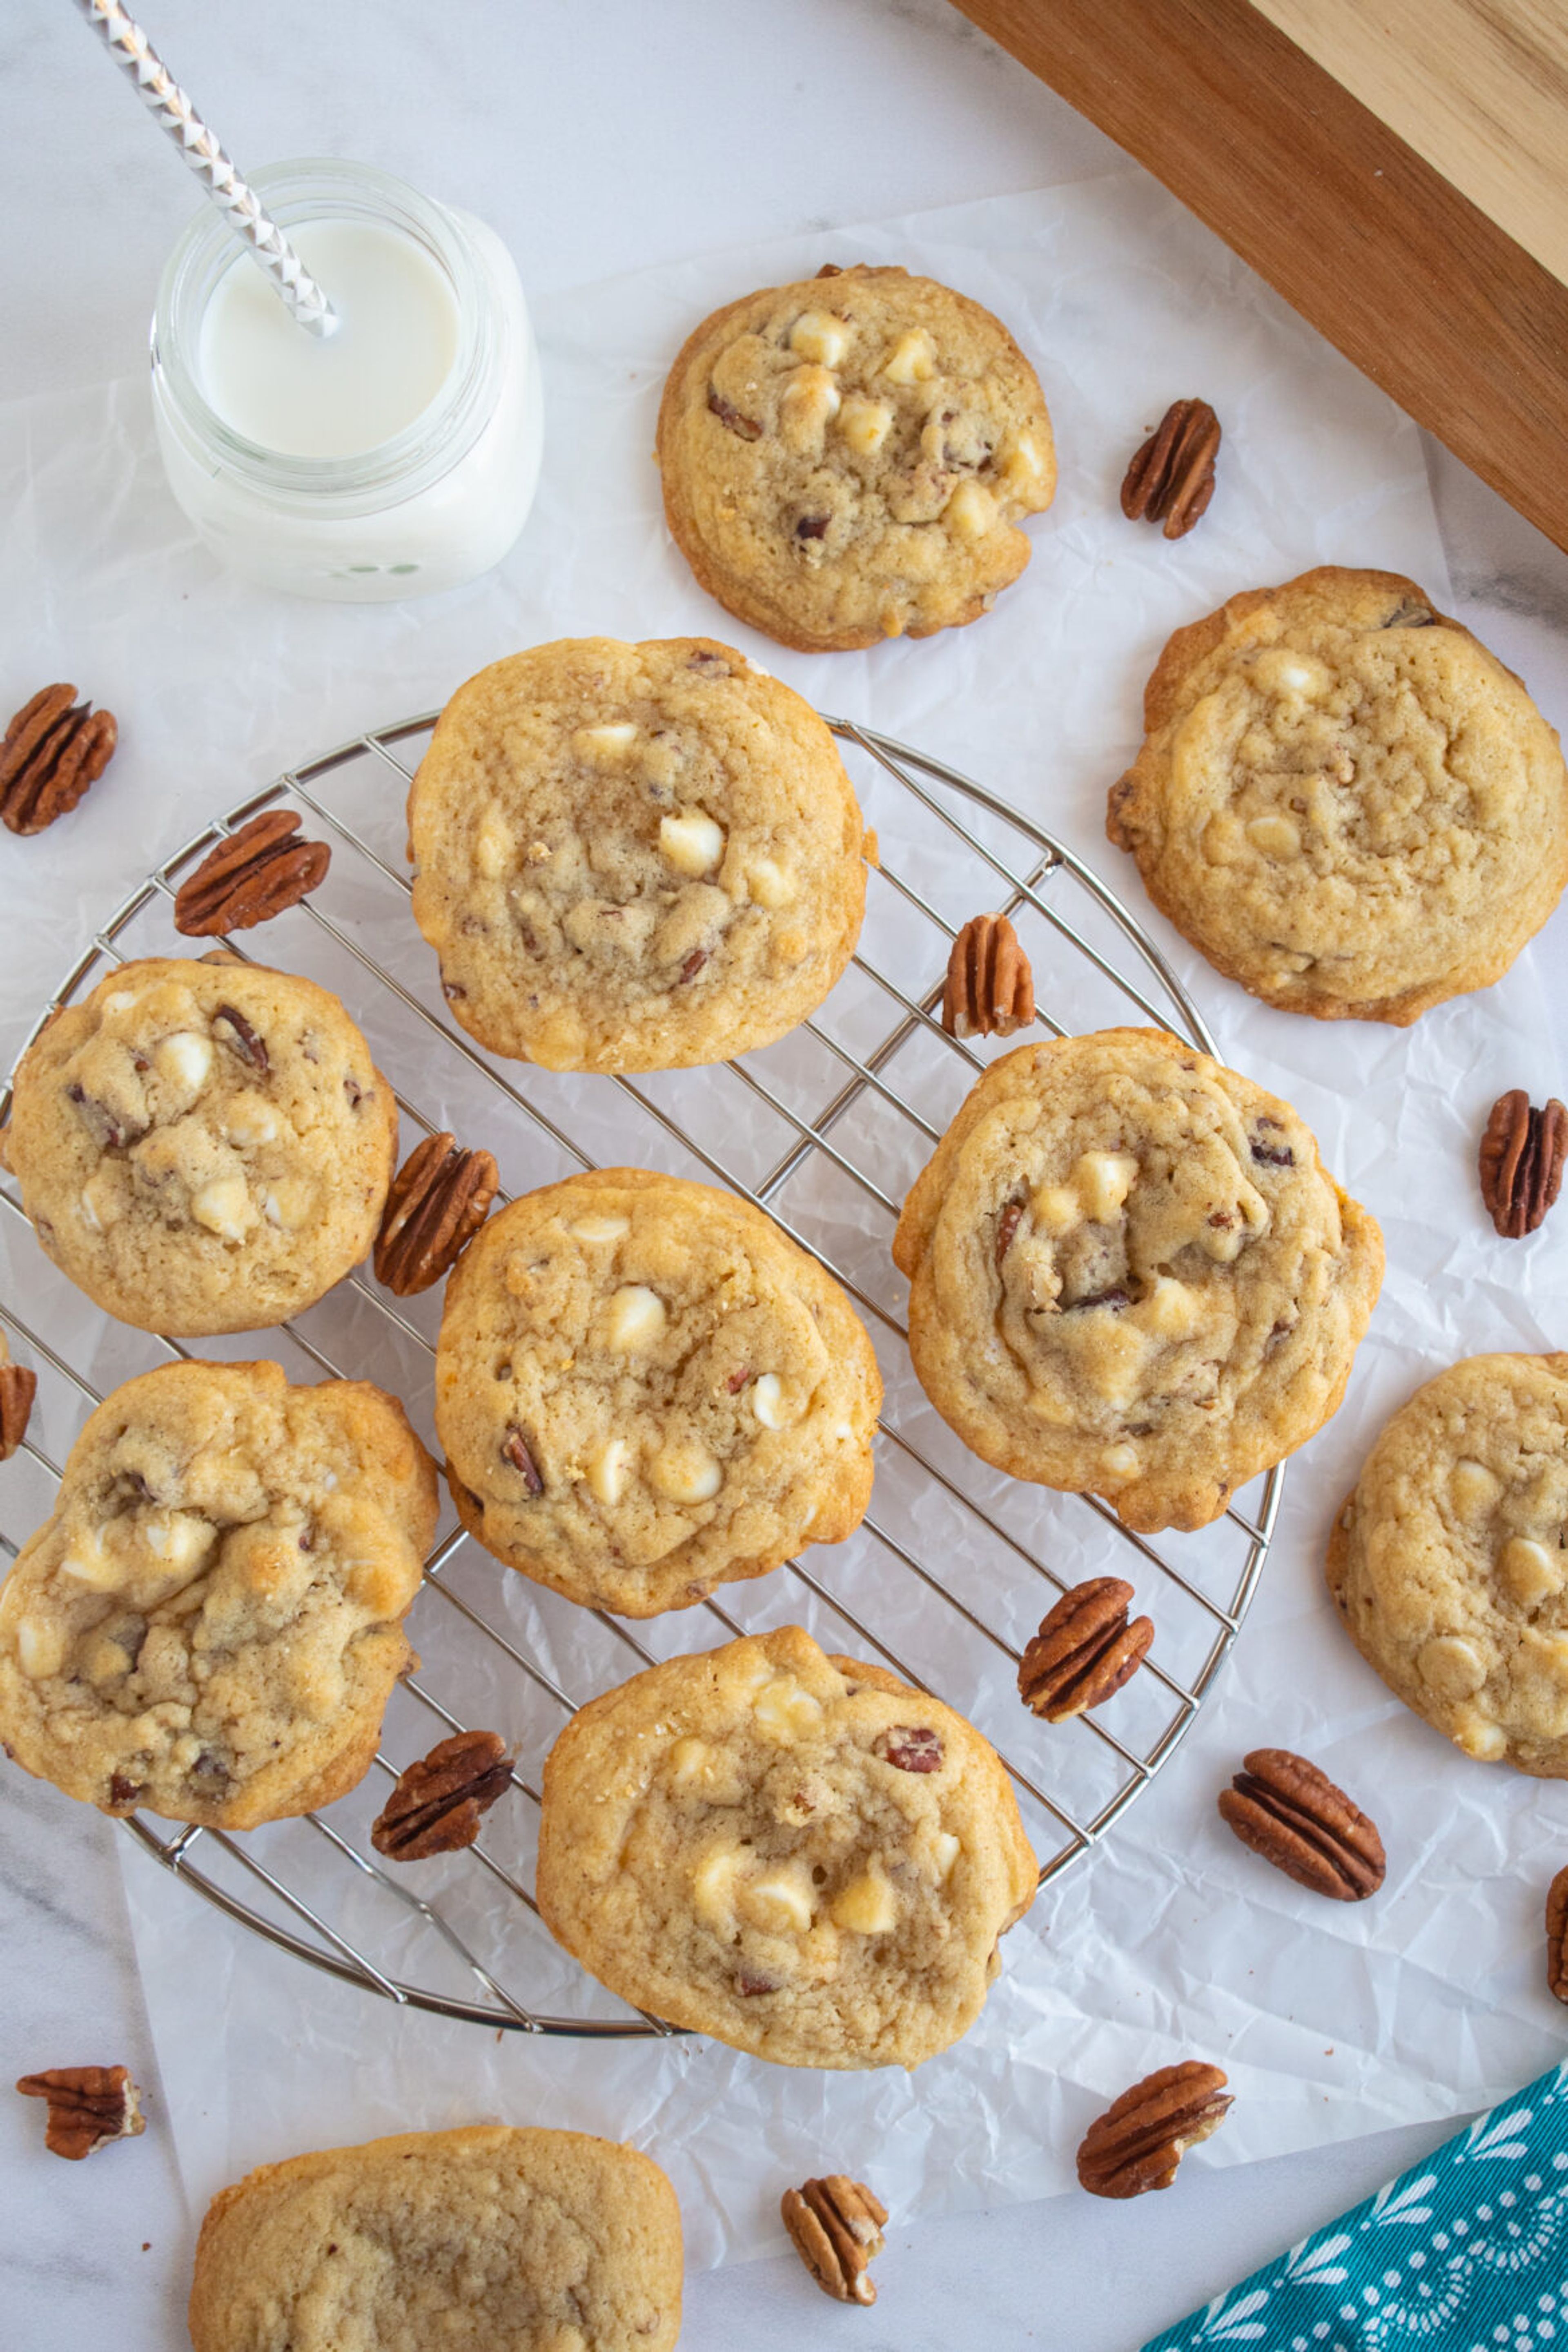
Maple Chocolate Chip Cookies
These Maple Chocolate Chip cookies are a soft and chewy cookie, bursting with the flavors of maple syrup and brown sugar, and are loaded with chocolate chips. Add walnuts or pecans if you want for a crunch!
• 1/2 cup unsalted butter (1 stick, softened)
• 3/4 cup dark brown sugar (packed)
• 1/4 cup granulated sugar
• 1 large egg
• 1/4 cup pure maple syrup
• 1 teaspoon pure vanilla extract
• 1 teaspoon pure maple extract (optional, for a stronger maple flavor)
• 1 3/4 cup all-purpose flour
• 1 teaspoon baking soda
• 1/2 teaspoon salt
• 1 cup chocolate chips
• 1/2 cup chopped pecans
Cream together the butter, brown sugar, and granulated sugar in a large bowl for a couple minutes, or until light and creamy. Add in the egg, maple syrup, vanilla extract, and maple extract and stir until combined.
Add in the flour, baking soda, and salt and stir together on low speed until you have a nice soft dough. Fold in the chocolate chips and chopped pecans, until evenly distributed into the batter.
Cover the dough and refrigerate it for one hour, up to overnight.
Preheat the oven to 350 degrees. Line a baking sheet with a silicone liner or parchment paper.
Scoop the cookie dough into 2 tablespoon portions and roll it into a smooth ball. Place it onto a prepared cookie sheet, a couple inches apart.
Place the pan in the oven and bake for 10 to 14 minutes, or until the cookie edges are golden, and the middles look mostly set.
Remove the cookies from the oven and let them sit on the cookie sheet for five to 10 minutes, then transfer to a cooling rack to cool completely.
Notes: Real Maple Syrup — I haven’t tested this recipe with pancake syrup, which doesn’t have actual maple in it. If you want the maple flavor, use pure maple syrup. If you want to use pancake syrup, be my guest — the cookies will taste less maple-y and likely be a bit flatter.
Coarse Salt — I like to add a pinch of flakey salt over the top of the cookies after removing them from the oven, but this is optional. I add this to most of my cookies that are this style.
Source: www.bestchristmasdesserts.com
Iced Pumpkin Oatmeal Cookies
These Pumpkin Oatmeal Cookies are the ultimate fall cookie! Soft and chewy, with a sweet cinnamon glaze, they’re sure to be your new favorite!
• 2 1/2 cups rolled oats
• 2 1/3 cups all-purpose flour
• 1 tablespoon baking powder
• 1 teaspoon baking soda
• 2 teaspoons ground cinnamon
• 1 teaspoon ground nutmeg
• 1 teaspoon salt
• 3/4 cup unsalted butter, melted
• 1/3 cup pumpkin puree
• 1 1/2 cups granulated sugar
• 1 tablespoon molasses
• 1 teaspoon vanilla extract
• 2 eggs
Cinnamon Icing:
• 2 cups powdered sugar
• 1 teaspoons cinnamon
• 4 tablespoons water
• 1 1/2 teaspoons vanilla extract
How to Make Pumpkin Oatmeal Cookies: Preheat oven to 350 degrees and line two cookie sheets with parchment paper or non-stick silicone baking mats.
Stir together oats, flour, baking powder, baking soda, cinnamon, nutmeg and salt in a medium mixing bowl and set aside.
In a separate large mixing bowl, whisk together the butter, pumpkin puree, sugar, molasses and vanilla. Add eggs one by one, whisking as you go, until batter is smooth. Slowly begin to add the oat mixture to your large mixing bowl, stirring until well combined.
Using a medium cookie scoop, place balls of pumpkin oatmeal cookie batter onto your prepared baking sheets.
Bake at 350 degrees for 10 to 12 minutes, rotating cookie sheets at the halfway mark. When the cookies are done they will start to turn a rich golden brown.
Remove from oven and allow to cool on the baking sheet for about five minutes, then transfer to a wire cooling rack.
Icing: Whisk the powdered sugar, cinnamon, water and vanilla together in a small mixing bowl until you have a smooth glaze.
Take each pumpkin oatmeal cookie and place face-down in the bowl of glaze, so that the top is coated. Flip right-side-up and place on the cooling rack again so the glaze can set.
Repeat with each cookie. Finish cookies with a sprinkle of cinnamon.
Source: www.thesoccermomblog.com
Old-Fashioned Caramel Icing
Old fashioned caramel icing is delicious on plain yellow cake, but is especially good on spice cake or apple cake in the fall. Putting the cold butter in last made all the difference and it tastes so good!
• 3 cups white granulated sugar
• 1 1/3 cups white whole milk
• 1 1/2 sticks cold butter
• 5 tablespoons white granulated sugar
Combine 3 cups sugar and milk in a heavy sauce pan on medium heat. Stir together for a few minutes. Allow to continue to heat.
While milk and sugar are heating, place a small black iron skillet on medium to medium high heat. Add the 5 tablespoons of sugar. Stir in the skillet until the sugar liquifies and then turns golden brown. It will be bubbling hot.
Now the milk and sugar should be very hot. Carefully pour in the browned sugar from the skillet. Whisk together and cook for about 15 minutes or until the mixture reaches the very soft ball stage. (test by dropping a little off a spoon into a small glass of cool water. When a small soft ball forms, it's ready.)
Remove from heat and using an electric mixer, mix in 1 and 1/2 sticks cold butter ... never margarine!
Continue to beat until cooled to spreading consistency.
If too thick, you can thin by beating in milk a tablespoon at a time.
Make sure your cake is completely cooled, or this heavy icing may cause the top to split. It'll still taste super though!
Test kitchen tips: We highly recommend using a candy thermometer to make sure the sugar mixture is cooked to the soft-ball stage. Be patient when caramelizing the sugar and make sure not to burn it. After adding the deep amber sugar to the milk and sugar mixture, you may want to occasionally stir with a spatula to prevent the bottom from scorching. Our frosting took a couple of hours to become cool enough to spread onto a cake. We kept going back to the bowl and mixing a bit with our hand mixer until it was finally stiff enough to spread.
Source: www.justapinch.com
Cheesy Tomatoes and Rice with Chicken
Loaded with real flavor, your family will love the melted cheesiness, mild green chiles, bright tomatoes in this easy Mexican-style chicken and rice casserole.
Chicken Thighs:
• 6 chicken thighs, boneless, skinless
• 1/4 cup lime juice (about 3 limes)
• 2 tablespoons olive oil
• 1 teaspoon dried oregano
• 1/2 teaspoon garlic powder
• 1/2 teaspoon chili powder
• 1/2 teaspoon cumin
• 1/2 teaspoon salt
• 1/2 teaspoon coarse ground black pepper
Marinated Tomato Slices:
• 6 tomato slices
• 1 tablespoon olive oil
• 1/4 teaspoon garlic powder
• 1/4 teaspoon salt
• 1/4 teaspoon coarse ground black pepper
Cheesy Tomatoes and Rice:
• 2 tablespoons olive oil
• 1 1/2 cup chicken broth
• 1/2 yellow onion, diced
• 7 ounces diced green chiles not drained
• 1 teaspoon minced garlic
• 1 cup half and half cream
• 2 ounces cream cheese
• 1 tablespoon lime juice
• 1 1/2 cups Minute Rice
• 2 cups grated Colby Jack cheese
• 10 ounces canned diced tomatoes with chiles not drained
• Finishes: chopped cilantro (or parsley, if preferred)
Preheat oven to 400 degrees.
Chicken Thighs: In a large zip top bag, add olive oil, lime juice, oregano, garlic powder, chili powder, cumin, salt and pepper. Add chicken thighs, close bag, massaging and turning bag over to coat the chicken with the marinade. Set aside for at least 10 to 15 minutes.
Marinated Tomatoes: In a large zip top bag, add olive oil, garlic powder, salt and pepper. Add tomatoes, close bag and massage gently, making sure each slice is coated. Set aside with chicken.
Note: While chicken and tomatoes marinate, you can dice the yellow onion, chop cilantro (or parsley), grate the cheese and measure out and prepare the ingredients for the cheese and tomato rice so no time is lost. Chicken and tomatoes can also be marinated overnight in the fridge.
In a large skillet with a lid, heat 2 tablespoons of olive oil over medium heat. Add marinated chicken thighs with leftover marinade to the skillet. Cook until golden brown on each side. Remove from skillet and set aside. Thighs don't have to be cooked through because they will continue to cook later in the oven.
Wipe out skillet to remove any drippings and cooked on marinade.
Cheesy Tomato Rice: Return the skillet to the stove top and add 1/4 cup of the chicken broth over medium heat. Add diced yellow onion, diced chiles (undrained) and garlic. Cook until onions are soft and translucent.
Whisk in 1 cup broth and half and half cream. Add lime juice. If sauce separates, it's ok. It will come back together. Add cream cheese in pieces. Continue to whisk until melted.
Stir in rice. Place lid on skillet and keep at a low simmer for 5-8 minutes or until rice is tender, stirring occasionally. Rice will be creamy and saucy. Remove from heat and fold in diced chiles and tomatoes (undrained) and 1 cup Colby Jack cheese.
Nestle browned chicken thighs and marinated tomato slices into the rice. Pour last 1/4 cup broth and any drippings from the chicken over whole dish. Return the lid and place skillet into preheated oven.
Bake with lid on for 10 minutes. Remove lid and continue to bake for 10 to 15 more minutes until edges are bubbly and tomato slices begin to cook. Remove from oven, top with chopped cilantro and serve!
Notes: Don't worry when the sauce separates after adding the tablespoon of lemon juice. It comes back together and the rice and sauce will be creamy after it simmers.
Keep the simmer low as the rice cooks. Give it time to soak up the sauce, instead of the sauce evaporating.
Stir the rice occasionally as the sauce gets thicker to make sure the dairy is not sticking to the skillet.
For this dish to turn out correctly in taste and appearance, don't skip wiping out the skillet before cooking the sauce and rice.
Source: www.southerndiscourse.com
Have a great week and until next time, happy cooking.
Susan McClanahan is administrator at the Cape Girardeau Senior Center. Send recipes to her at news@semissourian.com or by mail at P.O. Box 699, Cape Girardeau, MO 63702. Recipes published have not been kitchen-tested by Southeast Missourian staff.
Connect with the Southeast Missourian Newsroom:
For corrections to this story or other insights for the editor, click here. To submit a letter to the editor, click here. To learn about the Southeast Missourian’s AI Policy, click here.


