Re-creating the perfect skirt
Most of my projects begin with a little deconstruction. I picked up this trait from my mother. She can look at a whole and break it down into parts with lightning speed and accuracy. And most of the time her creation beats the original by a long shot...
Most of my projects begin with a little deconstruction.
I picked up this trait from my mother. She can look at a whole and break it down into parts with lightning speed and accuracy. And most of the time her creation beats the original by a long shot.
Rather than store-bought Halloween costumes, my brother and I were treated to homemade utility belts and robes. It took my mom three minutes in a TG&Y aisle to find all the elements to make magic.
A few miniature boxes of cereal and a couple yards of fabric and accoutrements later, and I became a rather convincing Yoda, accompanied by my brother as Darth Vader.
Example two: Give her a few minutes and she can tell you all about how the parts of my life add up to a uniquely whole person. She doesn't always compliment me directly (I mostly get the corrective deconstruction), but I do hear from other people that she shines on me when I'm not in the room.
She's worked hard to take an average little girl and reconstruct her to an independent and mature young woman. I'm not sure she's always happy with the outcome (I'm no Yoda), but I do know she loves the project.
So, for Mother's Day, I thought I would share with you one of the best gifts my mother has given me.
The perfect A-line skirt
It's hard to find the "perfect" skirt. With hips like mine (thanks again, Mom) and a budget that's quite a bit slimmer, it's hard to get clothes off the rack. So, when I find something I love, I immediately try to turn it into a pattern.
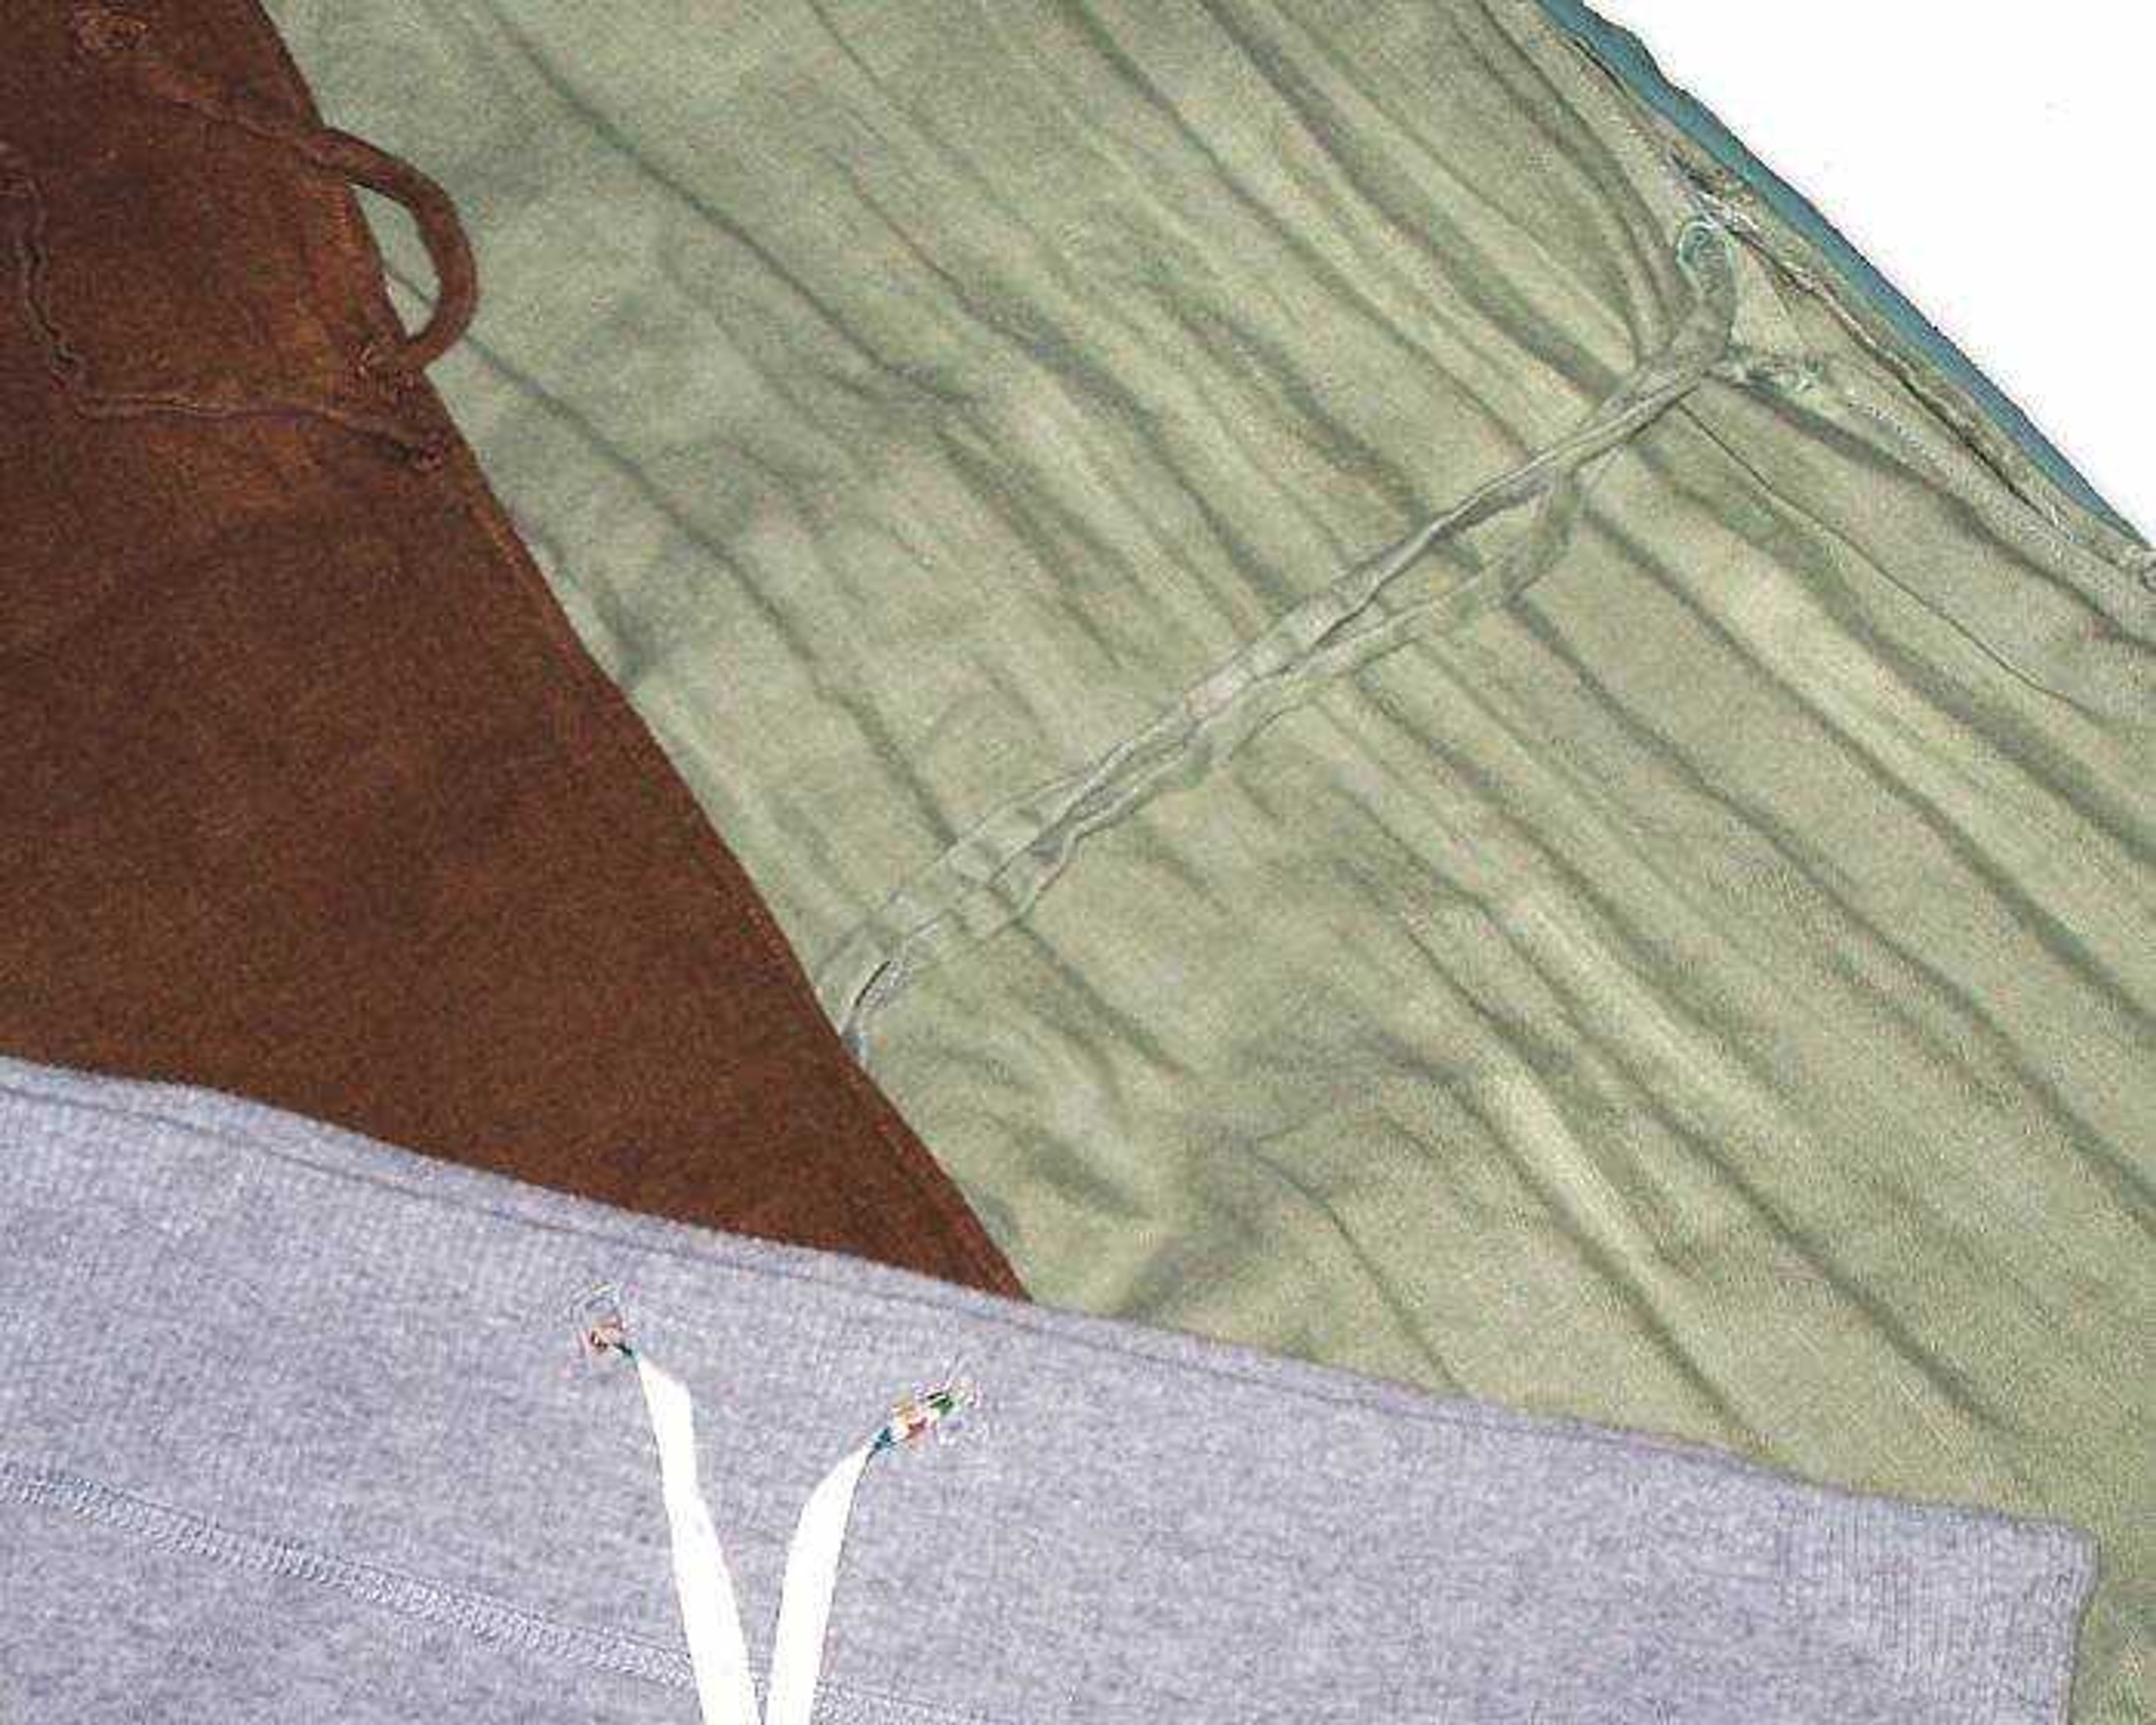
The most simple of A-line skirts is two pieces of fabric sewn together, hemmed at the top and bottom, and fitted with a drawstring. I found the perfect A-line a couple of years ago and knew I needed at least five more in various colors and fabrics.
You'll need fabric, matching thread and double-fold bias tape for this project. A good, sharp pair of scissors, some pins and a writing utensil would also help move the project along.
A yard of 45-inch fabric was plenty to make me a knee-length skirt. To see how much you need take your original skirt with you to the fabric store. When you've got the fabric cut to length, take it home and toss it in the wash on the a quick cycle and tumble it dry. This will get the sizing out and preshrink your fabric. Read the label on the bolt of fabric to make sure this is necessary, though, you can save 30 minutes if your fabric is preshrunk.
Once the fabric is dry and you've given it a good once-over with an iron, you're ready to make some cuts. Fold the fabric back to its 45-inch height. Then lay your skirt on top of the two layers of fabric.
Trace around the skirt adding an inch to each side and 2 inches across the top and bottom. This extra fabric will serve as your hems. Perfection is not important here, but do try to follow the line of the "pattern" skirt as closely as possible.
When you've got your lines drawn, you're ready to cut. It helps to be on a hard, flat surface so your layers of fabric stay together. If your fabric moves too much you'll have uneven edges to pin together. Keep your leftover fabric to be used for your drawstring.
Pin the sides edges of the skirt together with the wrong side of the fabric touching. You should have a tube with the top and bottom of your skirt open. Sew up each side of the skirt with a tight stitch.
When you've removed your pins you're ready to try on your skirt. Give it a look to make sure you can pull it on and off easily and the length is good. Slip it back off, keep it right-side out and go to work on the waistband.
You want to pin the fold of the bias tape about an inch from the top of the skirt. Sew the tape to the skirt remembering to keep your stitch tight and as close to the center of the bias tape as possible.
Next, flip the skirt wrong-side out and fold the fabric over so that the edges of the bias tape are at the top of your waistband. Sew across the top of edge of the fabric (your needle will go through four layers of bias tape and two layers of fabric), again using a tight stitch. You've made a casing.
Now you need to put a couple of holes in the front center of your skirt to thread your drawstring through. The easiest way to do this is to cut small holes with your scissors and hand-stitch around the holes to secure them.
To make the drawstring measure the circumference of your skirt and add 6 inches. You'll want to sew your leftover fabric together so that you have a piece that length by 2 inches wide.
Pin the long edges together and sew about an inch from the top. Then turn the tube inside out to make your drawstring and feed it through the casing you've made at the top of your skirt. Tie a knot in each end to keep the drawstring from pulling back through.
And now it's time for the bottom hem. Unless you're a great seamstress, it takes a friend (or, in my case, a wonderful mother) to help here. Put the skirt on and have someone help you get an even hem around the bottom of your skirt. Fold the bottom of the skirt up an inch all the way around, then fold it over another inch to get a secure hem.
Pin it, sew it, flip it right-side out and you've got a new a-line skirt.
The whole project should take less than an afternoon, unless, as in my case, your mother lives four hours away. Then it may take a weekend, some wonderful meals and hours of conversation.
All well worth it for a great skirt and a great mom.
Vanessa Cook is a former Southeast Missourian copy editor who dabbles in decorating.
Connect with the Southeast Missourian Newsroom:
For corrections to this story or other insights for the editor, click here. To submit a letter to the editor, click here. To learn about the Southeast Missourian’s AI Policy, click here.

