Chipped Nails: Make your own pond filter
I'm not girly. I buy my shampoo at the feed store. I loathe shoe shopping so much, I've been wearing the same pair of Birkenstock clogs since 1999. And the only makeup I currently own is a tube of lip gloss I bought because I noticed the rigid plastic tube was just the right size and shape to double as a self-defense weapon if somebody were fool enough to attack me...
I'm not girly.
I buy my shampoo at the feed store. I loathe shoe shopping so much, I've been wearing the same pair of Birkenstock clogs since 1999. And the only makeup I currently own is a tube of lip gloss I bought because I noticed the rigid plastic tube was just the right size and shape to double as a self-defense weapon if somebody were fool enough to attack me.
I don't like shopping in general, but I absolutely cannot be trusted in a hardware store with a credit card, because I was raised in a house full of do-it-yourselfers and thus am absolutely powerless to resist the siren song of, say, a new set of drill bits, a grout saw or a tub of drywall mud.
After a half-dozen or so conversations with various editors, I convinced my bosses I probably wasn't the only woman in Southeast Missouri who would rather watch "This Old House" reruns than makeup tutorials and might appreciate a column focused on making stuff.
If that's you, welcome to "Chipped Nails."

By the time this issue reaches your hands, spring will be well underway -- the perfect time for water gardening.
I built my first backyard pond about 15 years ago in Belleville, Illinois.
At the time, we lived across the street from a vacant lot where the city had torn down a couple of derelict buildings. Before the public-works crew could grade the lot, it rained, and every toad in three counties showed up to breed in the puddles.
When I heard those toads trilling, I was absolutely enchanted, and my next free weekend found me in the backyard with a shovel, digging my first pond.
Owning a pond will teach you a lot about biology. You learn the value of shading the water to prevent algae bloom. You learn the importance of keeping the water moving so mosquitoes don't breed in it.

And most of all, you learn that owning a pond is a lot easier and a lot less work when you have a good biofilter out there to keep the water clean.
I've owned all sorts of filters over the years, but the one that's performed the best, held up the longest and cost the least was the one I built three years ago out of an empty ice-cream bucket and some pot scratchers from a dollar store.
Materials

- 1-gallon tub with a lid (ice-cream tubs are ideal)
- 10-inch-long PVC pipe, threaded at both ends (in plumber parlance, these are called "nipples"; you'll want to take your pump along to the hardware store to make sure the nipple you buy is the correct diameter to fit the opening on the top)
- Teflon tape
- 12 plastic pot scratchers
- 6 Scotch-Brite pads
- Pond or fountain pump
Tools

- Drill
- Hole-saw bit the same diameter as your PVC pipe
- Good-sized drill bit (at least 1/4 inch)
- Utility knife and/or sharp, heavy scissors
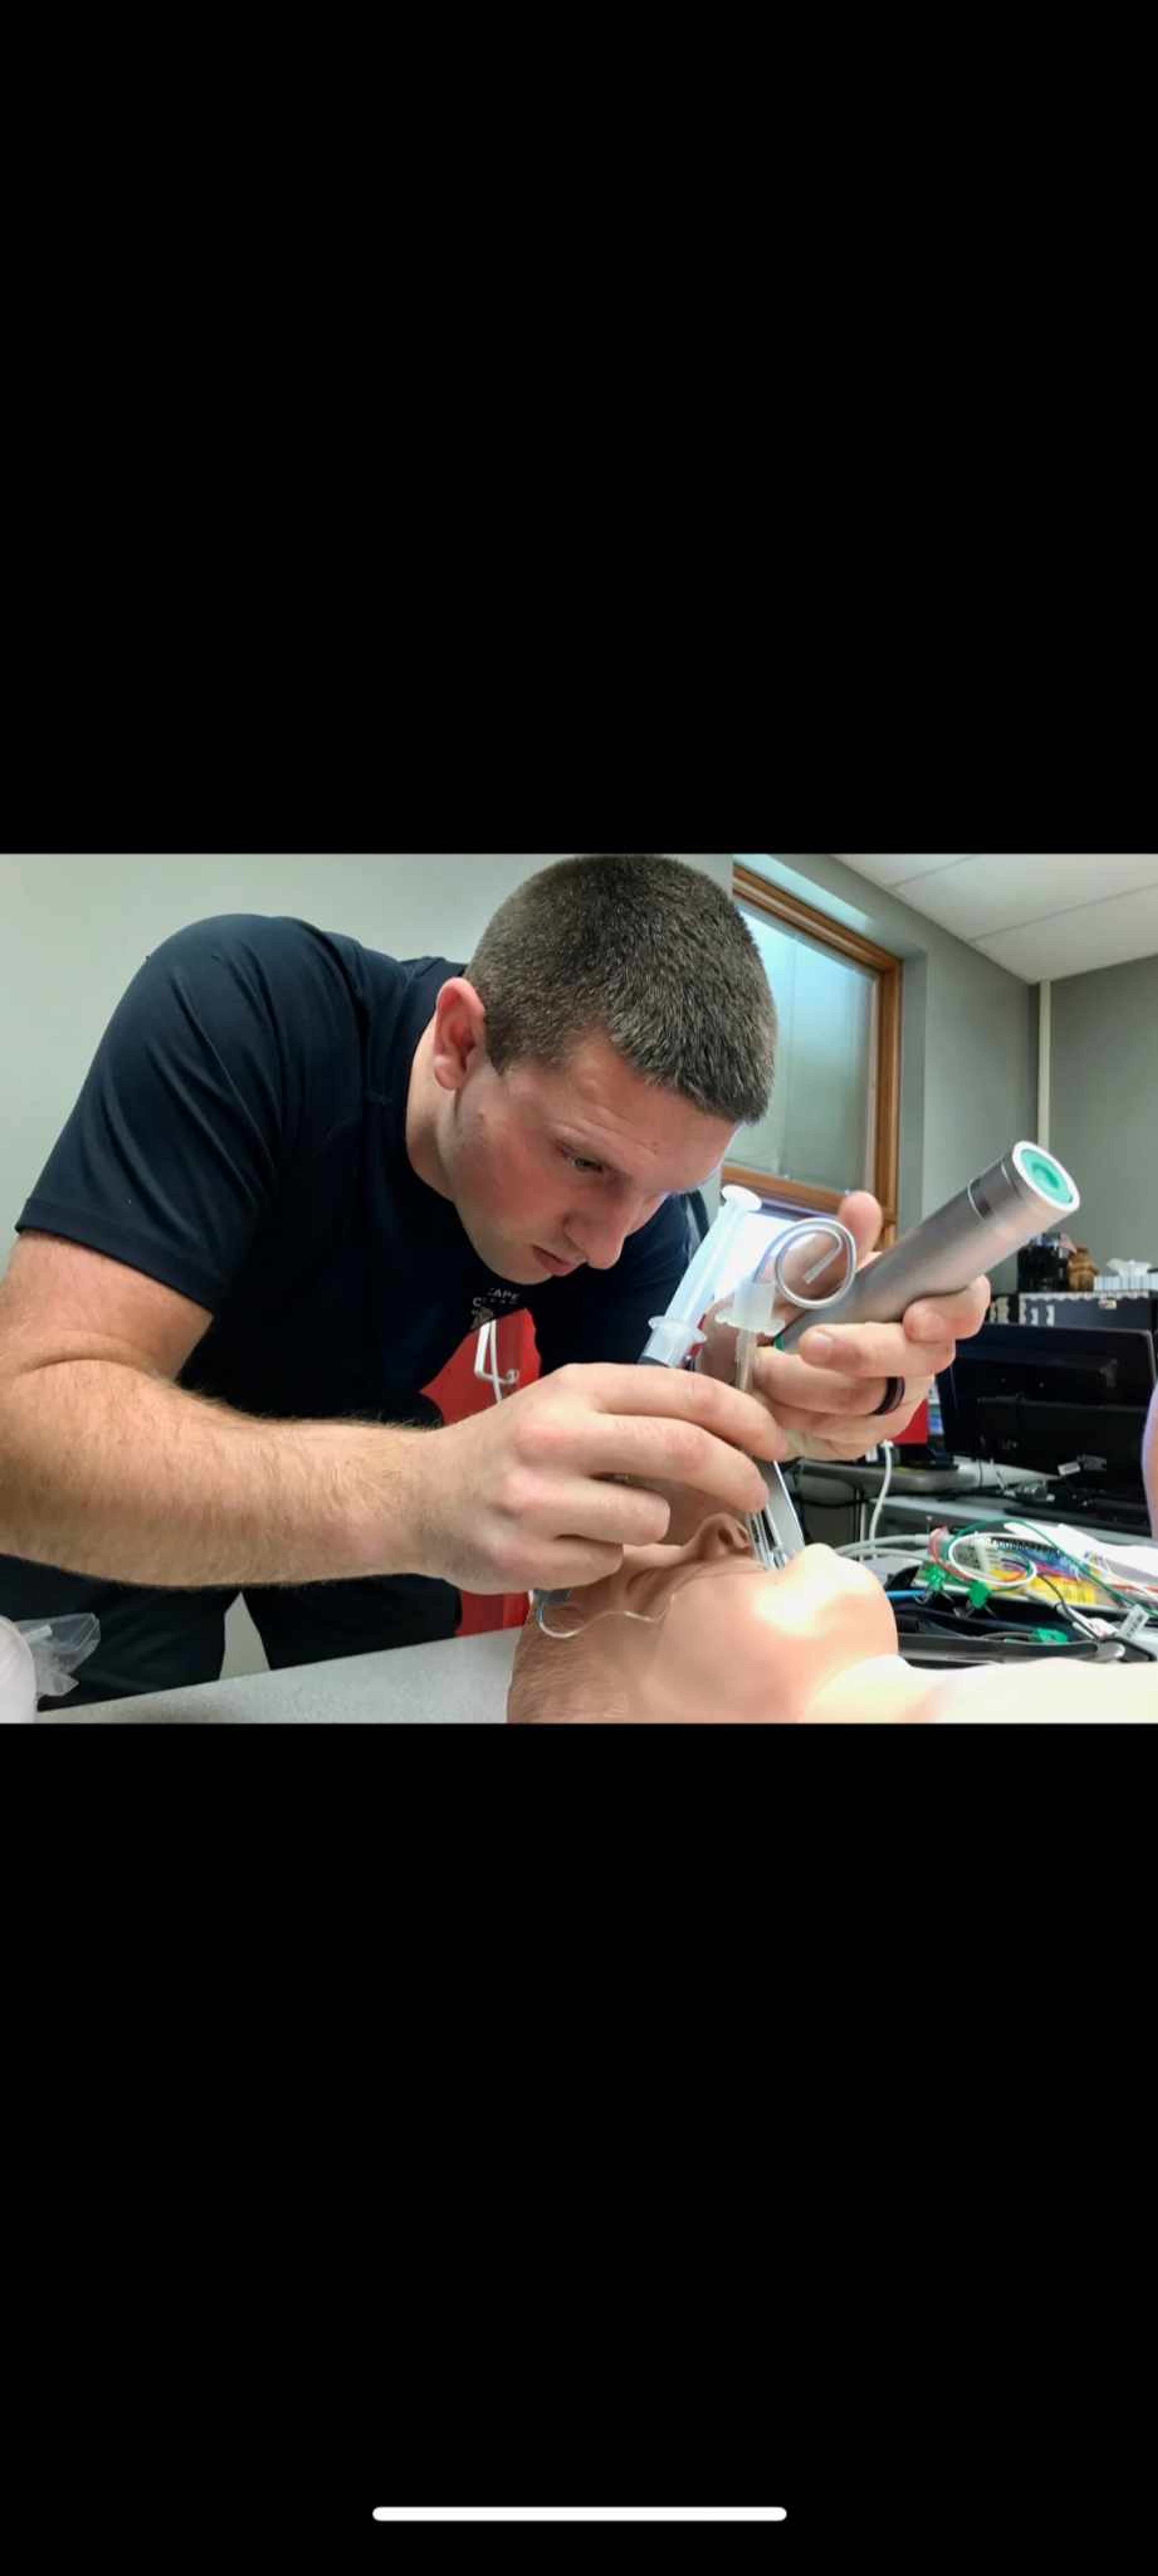
Start by preparing the bucket lid. Using the hole-saw bit, cut a hole in the center of the lid to accommodate the pipe. Drill holes all over the lid, about an inch apart, and cut a notch at the edge of the lid to accommodate the cord on the pump. (Note: The holes in the picture are much too small. I initially used a 1/8-inch drill bit, thinking it would be sufficient, but the holes clogged quickly, dragging down the flow and putting unnecessary strain on the motor. The pump and filter functioned much better when I enlarged the holes to about 1/4 inch.)
Wrap one end of the nipple with Teflon tape and screw it into the pump.
Slide the free end of the nipple through the hole in the lid.
Set the pump in the center of the bucket and tuck the pot scratchers and Scotch-Brite pads around it. These materials will serve as a medium for growing the bacteria your pond needs to break down organic material and keep the water clear.
Snap the lid onto the bucket, running the cord out through the notch you cut.
Set the pump in the bottom of your pond, holding it down for a few seconds if necessary to let it fill with water so it doesn't float back up to the top. Plug in the pump and watch the clear water come out the top. You may need to adjust the flow rate on the pump to control the height of the spray.
To clean the filter, I simply unplug the pump, pull the bucket out by its handle and hose off the contents above one of the raised beds in my garden. Don't clean it too vigorously; you want to knock down any gunk that might clog the water-intake openings, but you don't want to wash away the bacteria that serve as the "bio" part of the biofilter.
Connect with the Southeast Missourian Newsroom:
For corrections to this story or other insights for the editor, click here. To submit a letter to the editor, click here. To learn about the Southeast Missourian’s AI Policy, click here.


